This function is used to analyze the image received as input from the stage, for QR Code.
Alert: This block processes the image input and updates the values in the other functions hence it needs to be put inside loops while making projects.
Function Definition: analysestage()
This function is used to analyze the image received as input from the stage, for QR Code.
Alert: This block processes the image input and updates the values in the other functions hence it needs to be put inside loops while making projects.
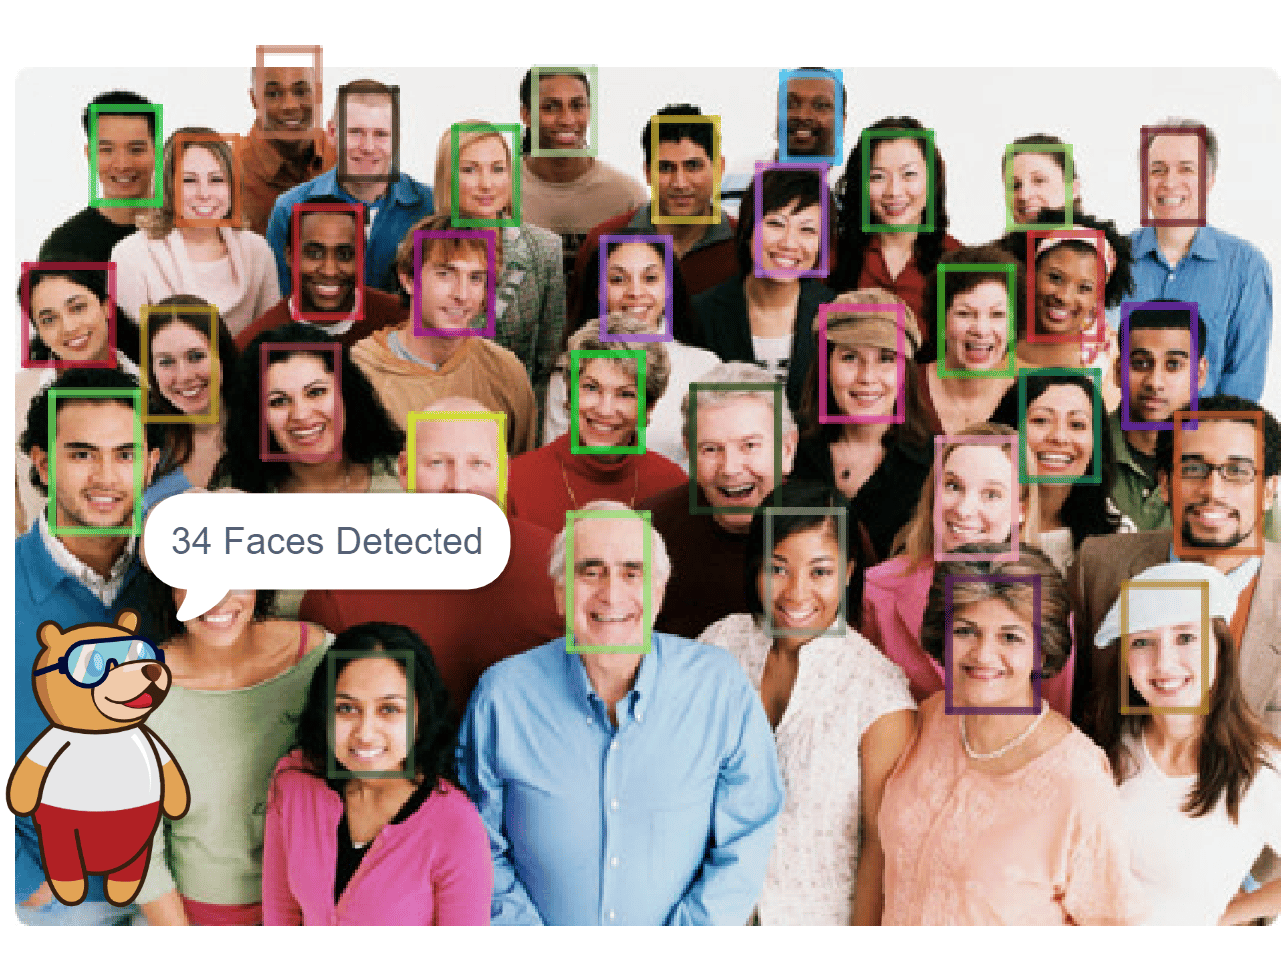
sprite = Sprite('Tobi')

fd = FaceDetection()

# Enable Bounding Box on the stage
fd.enablebox()

# Set Theshold of the stage
fd.setthreshold(0.9)

fd.analysestage()

sprite.say(str(fd.count()) + " Faces Detected")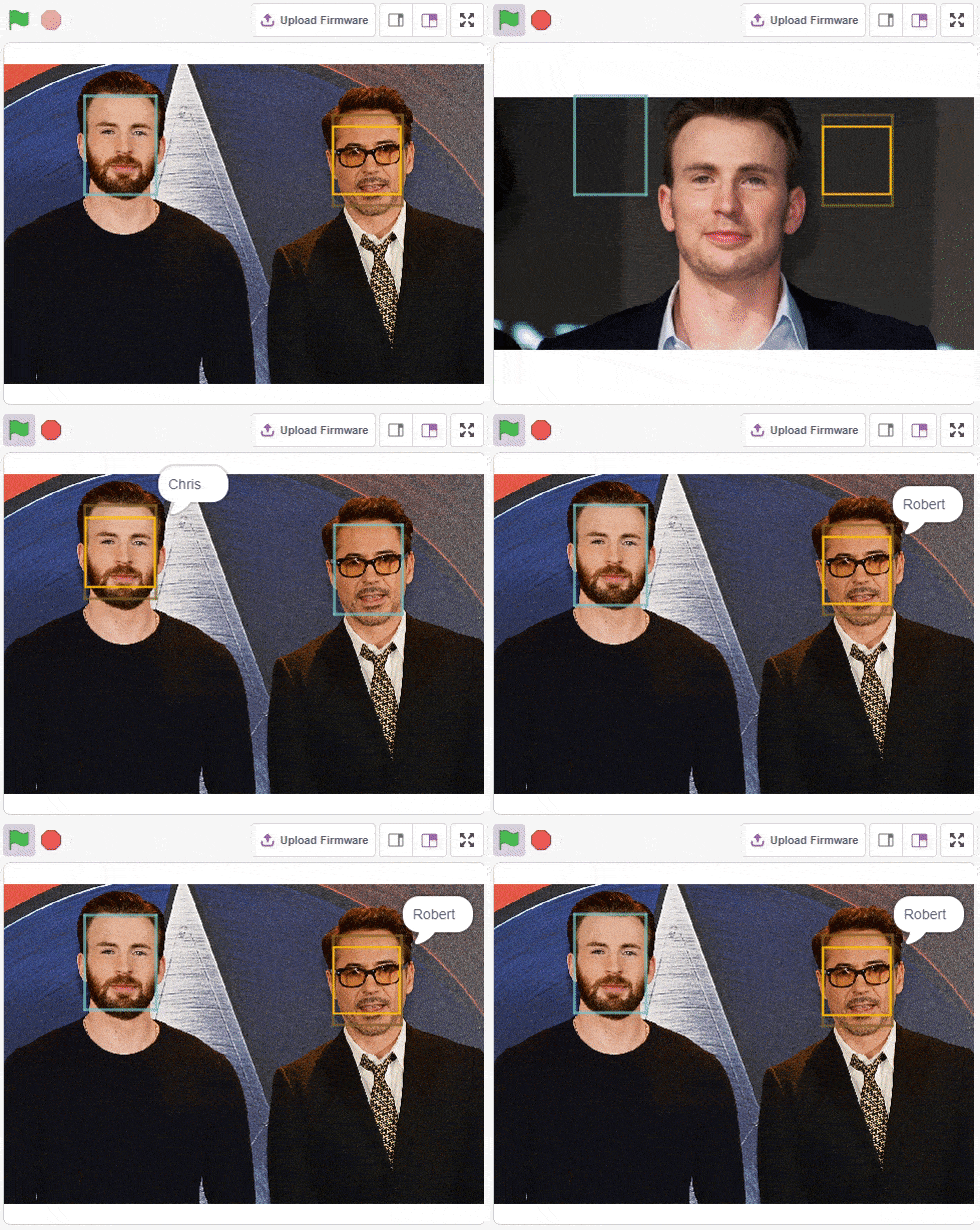
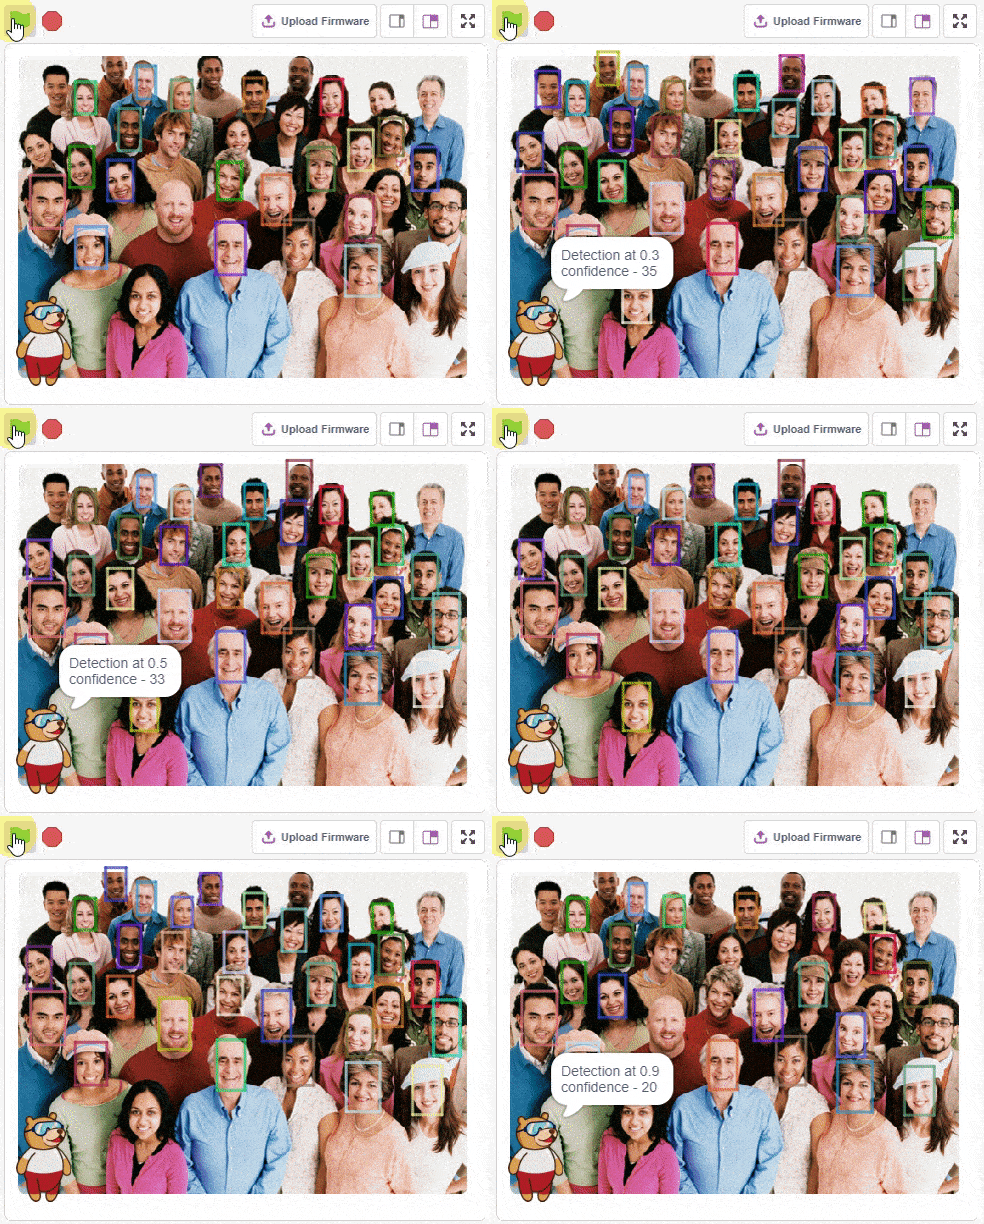
The example demonstrates the application of face recognition with stage. Following are the key steps happening:
sprite = Sprite('Square Box')
fd = FaceDetection()
import time

fd.setthreshold(0.5)
fd.enablebox()

# Reset Database
fd.deleteallclass()

# Adding Chirs face to database
sprite.switchbackdrop("Chris")
time.sleep(0.5)
fd.addclassfromstage(1, "Chris")

# Adding Robert face to database
sprite.switchbackdrop("Robert")
time.sleep(0.5)
fd.addclassfromstage(2, "Robert")

sprite.switchbackdrop("Robert and Chris")

while True:
  fd.recognisefromstage()

  print(fd.count())
  for i in range(fd.count()):
    sprite.setx(fd.x(i+1))
    sprite.sety(fd.y(i+1))
    sprite.setsize(fd.width(i+1))
    sprite.say(getclassname(i+1))
    time.sleep(1)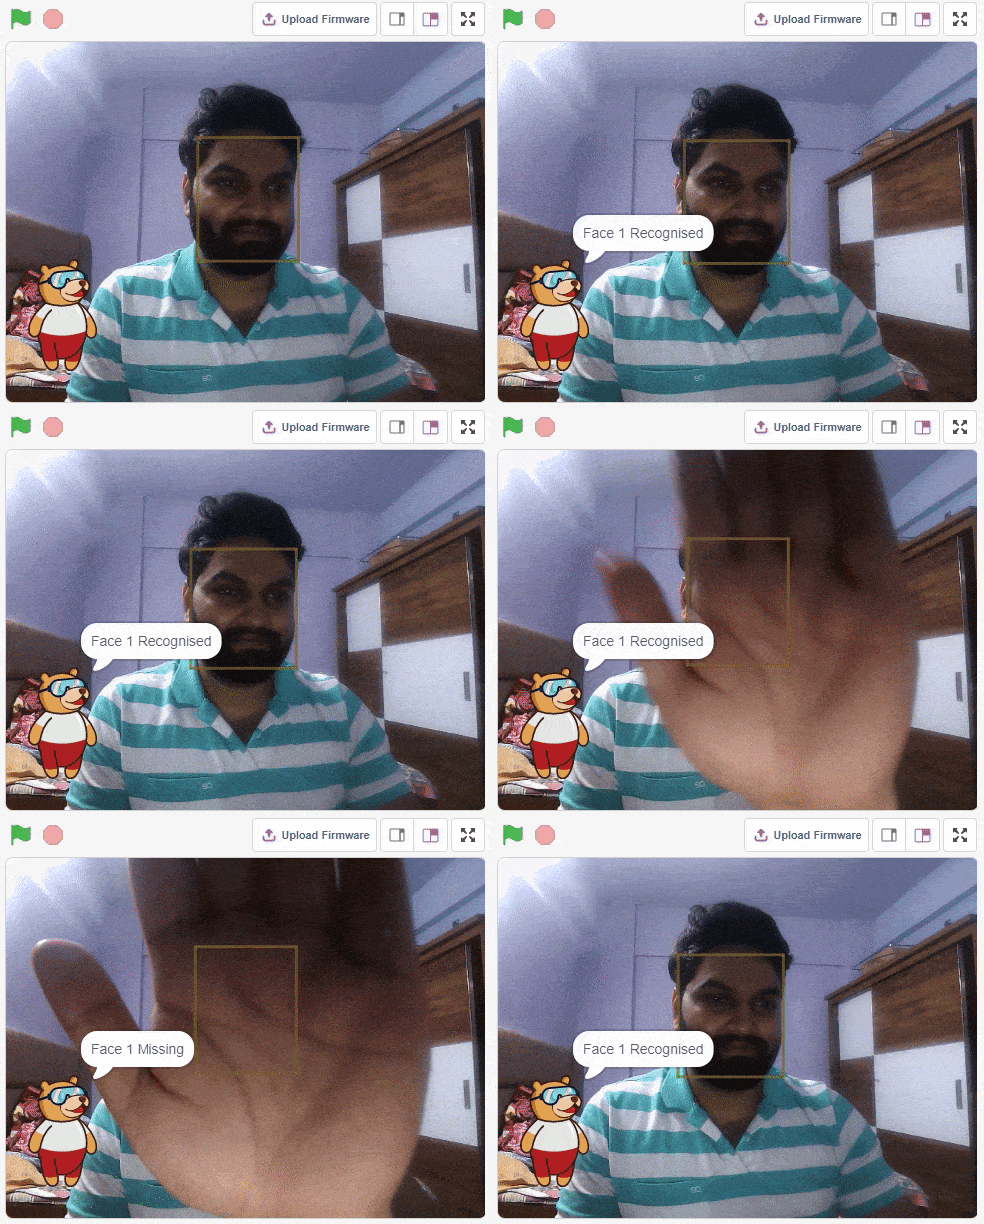
The example demonstrates the application of face recognition with camera feed. Following are the key steps happening:
sprite = Sprite('Tobi')

fd = FaceDetection()
import time

fd.setthreshold(0.5)
fd.video("on", 0)
fd.enablebox()
time.sleep(2)

fd.deleteallclass()

# Adding face 1 to database
fd.addclassfromstage(1, "Face 1")

while True:
  fd.recognisefromcamera()

  if fd.isclassdetected(1):
    sprite.say("Face 1 Recognised")
  else:
    sprite.say("Face 1 Missing")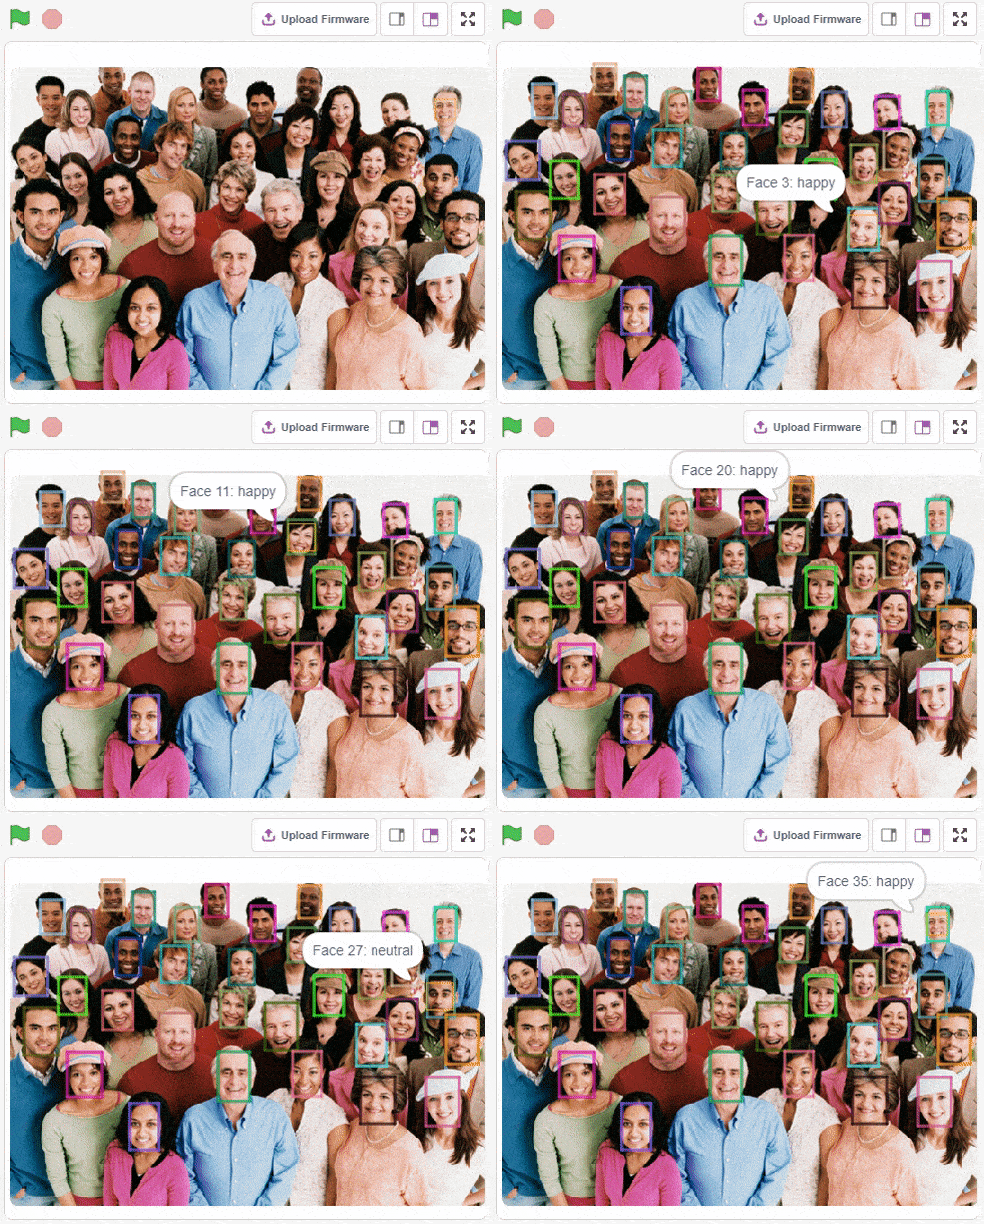
The example demonstrates the application of face detection with a stage feed. Following are the key steps happening:
sprite = Sprite('Square Box')
import time
fd = FaceDetection()

# Disable Bounding Box on the stage
fd.disablebox()

# Set Theshold of the stage
fd.setthreshold(0.4)

fd.analysestage()

print(fd.count())

for i in range(fd.count()):
  sprite.setx(fd.x(i + 1))
  sprite.sety(fd.y(i + 1))
  sprite.setsize(fd.width(i + 1))
  sprite.say("Face " + str(i + 1) + ": " + fd.expression(i + 1))
  time.sleep(1)
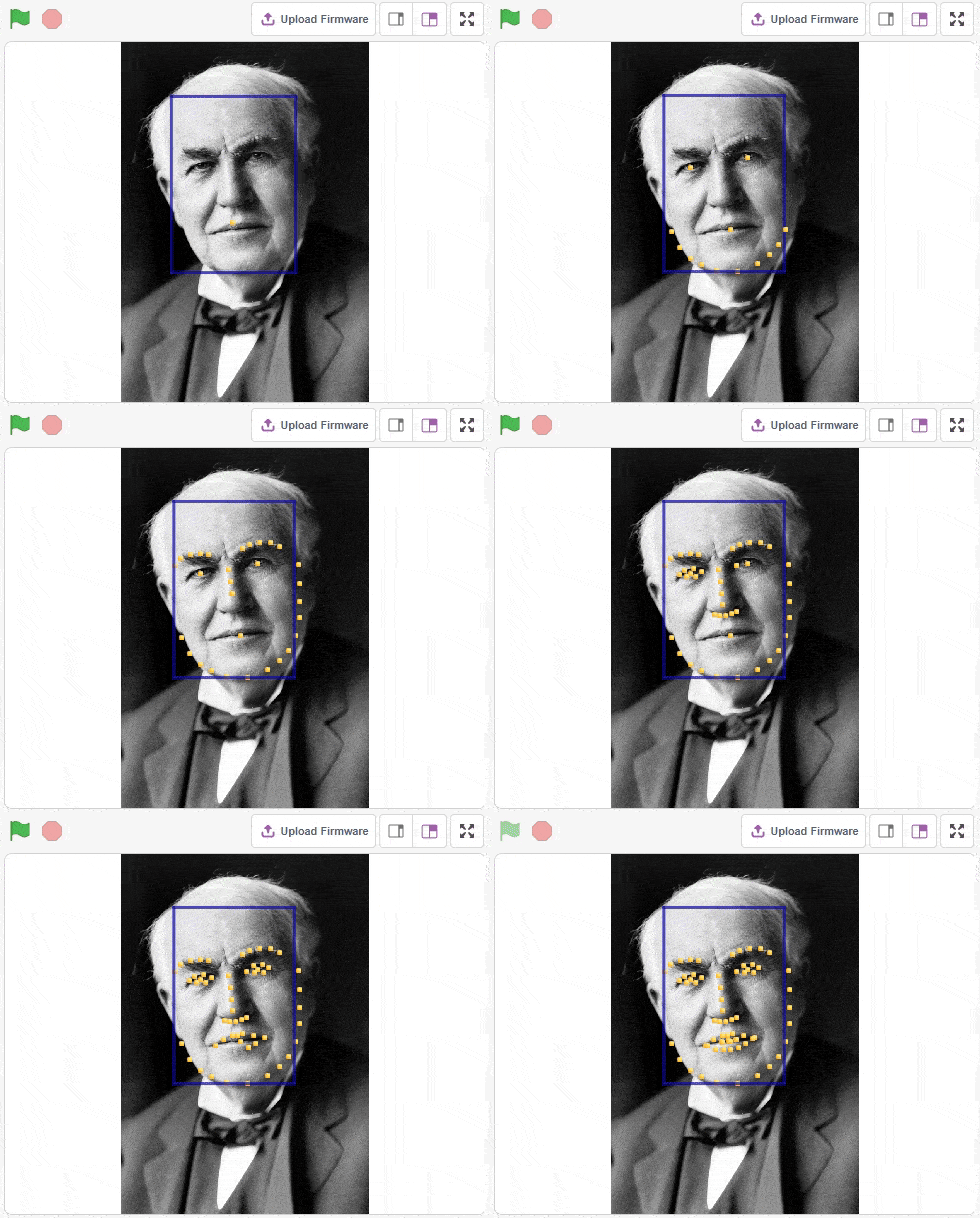
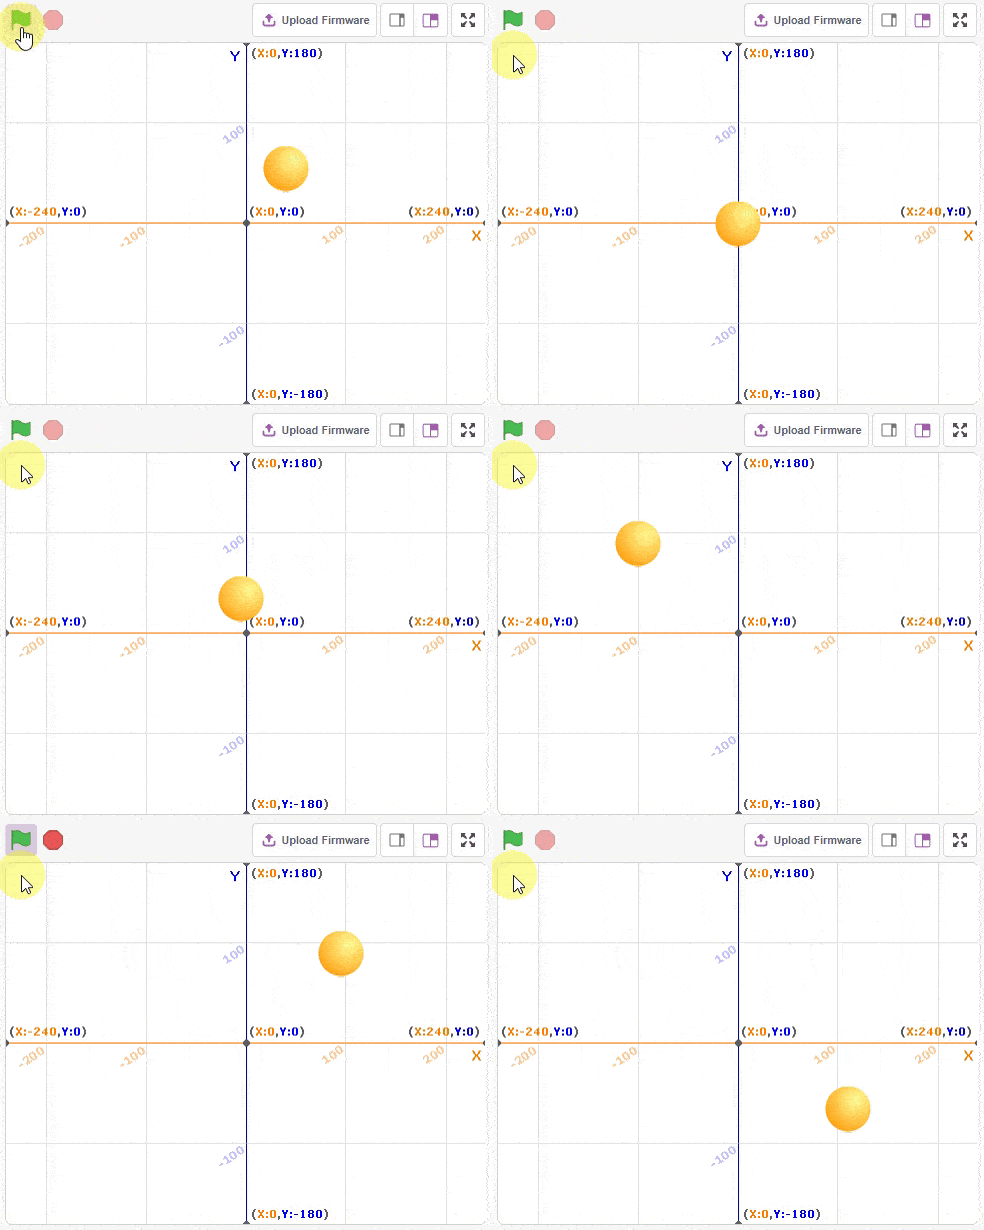
The example demonstrates how to use face landmarks in the projects. Following are the key steps happening:
sprite = Sprite('Ball')
fd = FaceDetection()
import time
pen = Pen()

pen.clear()
sprite.setsize(10)

fd.enablebox()

fd.analysestage()

for i in range(68):
  sprite.setx(fd.landmarksx(1, i+1))
  sprite.sety(fd.landmarksy(1, i+1))
  pen.stamp()
  time.sleep(0.2)
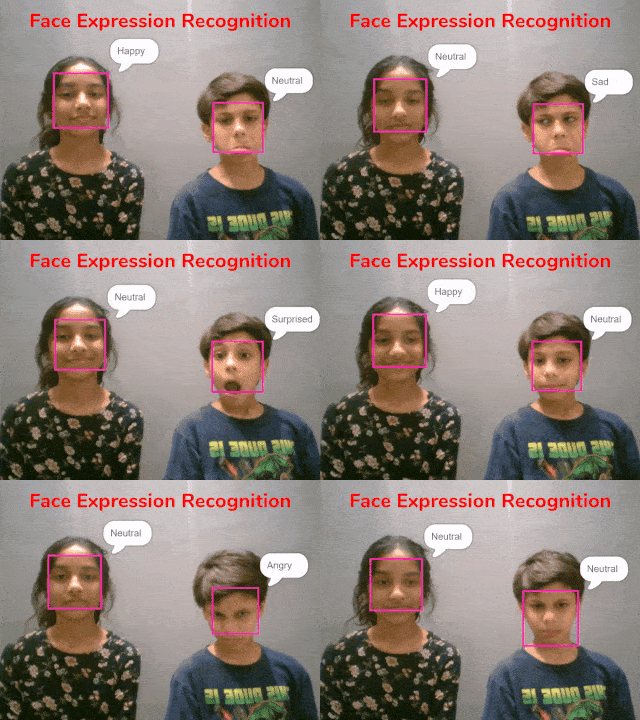
The example demonstrates how to use face detection with a camera feed. Following are the key steps happening:
sprite = Sprite('Square Box')
import time
fd = FaceDetection()

fd.video("on", 0)

# Enable Bounding Box on the stage
fd.enablebox()

# Set Theshold of the stage
fd.setthreshold(0.5)

while True:
  fd.analysestage()

  for i in range(fd.count()):
    sprite.setx(fd.x(i + 1))
    sprite.sety(fd.y(i + 1))
    sprite.setsize(fd.width(i + 1))
    sprite.say(fd.expression(i + 1))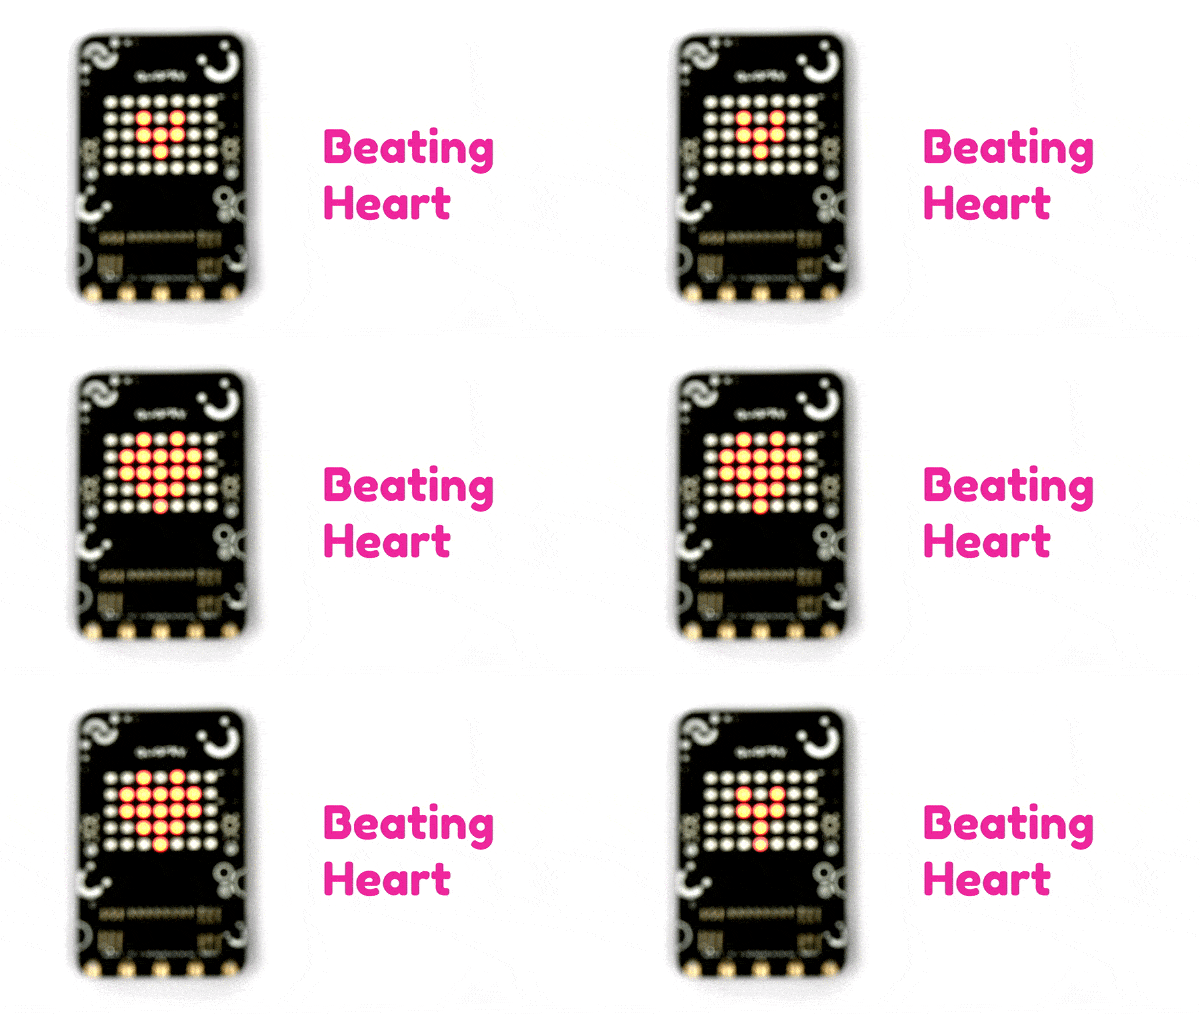

sprite = Sprite('Tobi')
quarky = Quarky()

import time

while True:
	quarky.drawpattern("jjbjbjjjbbbbbjjbbbbbjjjbbbjjjjjbjjj")
	time.sleep(0.4)
	quarky.drawpattern("jjjjjjjjjbjbjjjjbbbjjjjjbjjjjjjjjjj")
	time.sleep(0.4)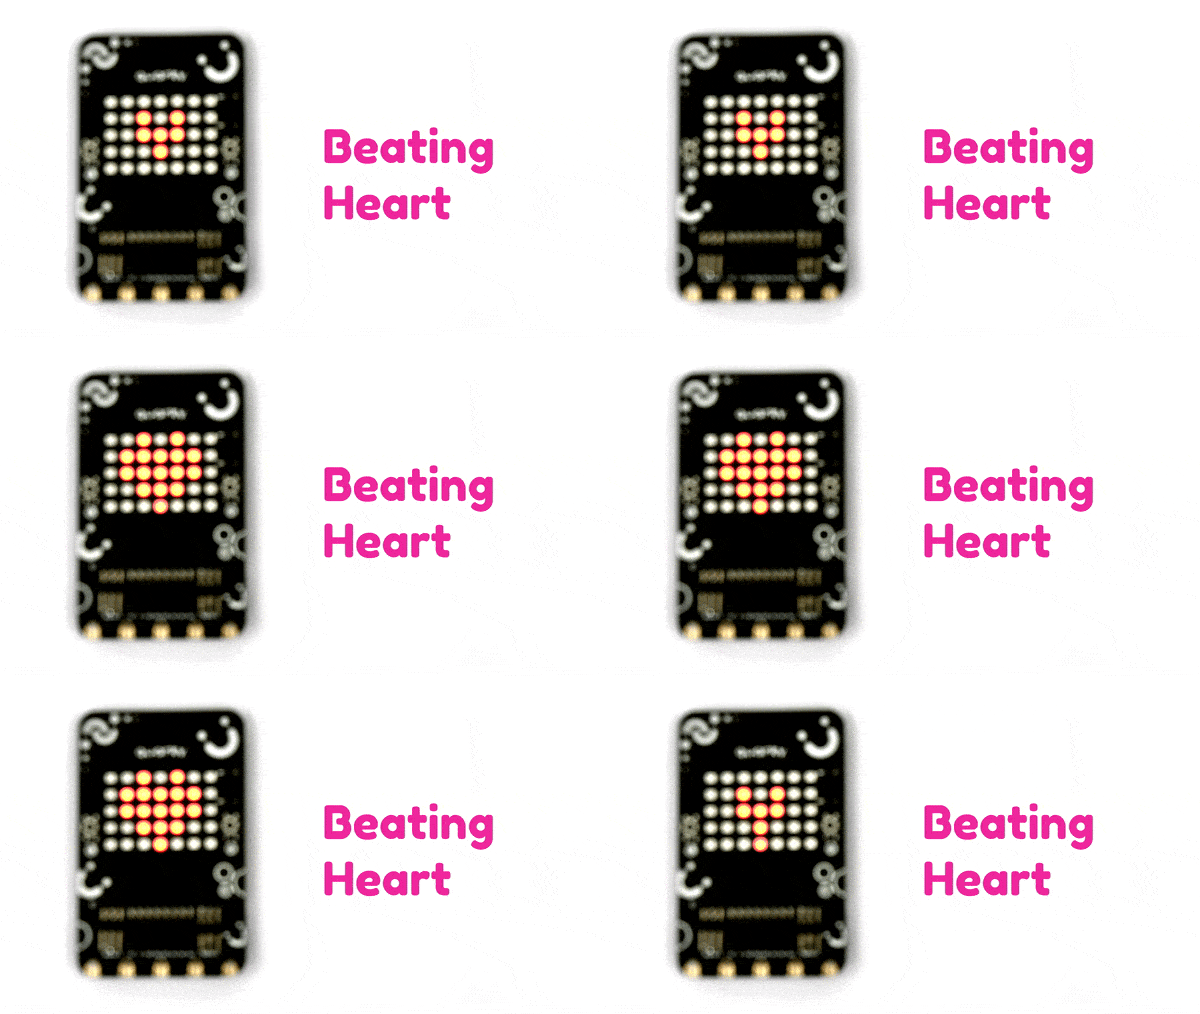

from quarky import *
import time

while True:
	quarky.drawpattern("jjbjbjjjbbbbbjjbbbbbjjjbbbjjjjjbjjj")
	time.sleep(1)
	quarky.drawpattern("jjjjjjjjjbjbjjjjbbbjjjjjbjjjjjjjjjj")
	time.sleep(1)

# This python code is generated by PictoBlox

from quarky import *
# This python code is generated by PictoBlox

# imported modules
import time


while True:
	quarky.drawpattern("jjbjbjjjbbbbbjjbbbbbjjjbbbjjjjjbjjj")
	time.sleep(1)
	quarky.drawpattern("jjjjjjjjjbjbjjjjbbbjjjjjbjjjjjjjjjj")
	time.sleep(1)


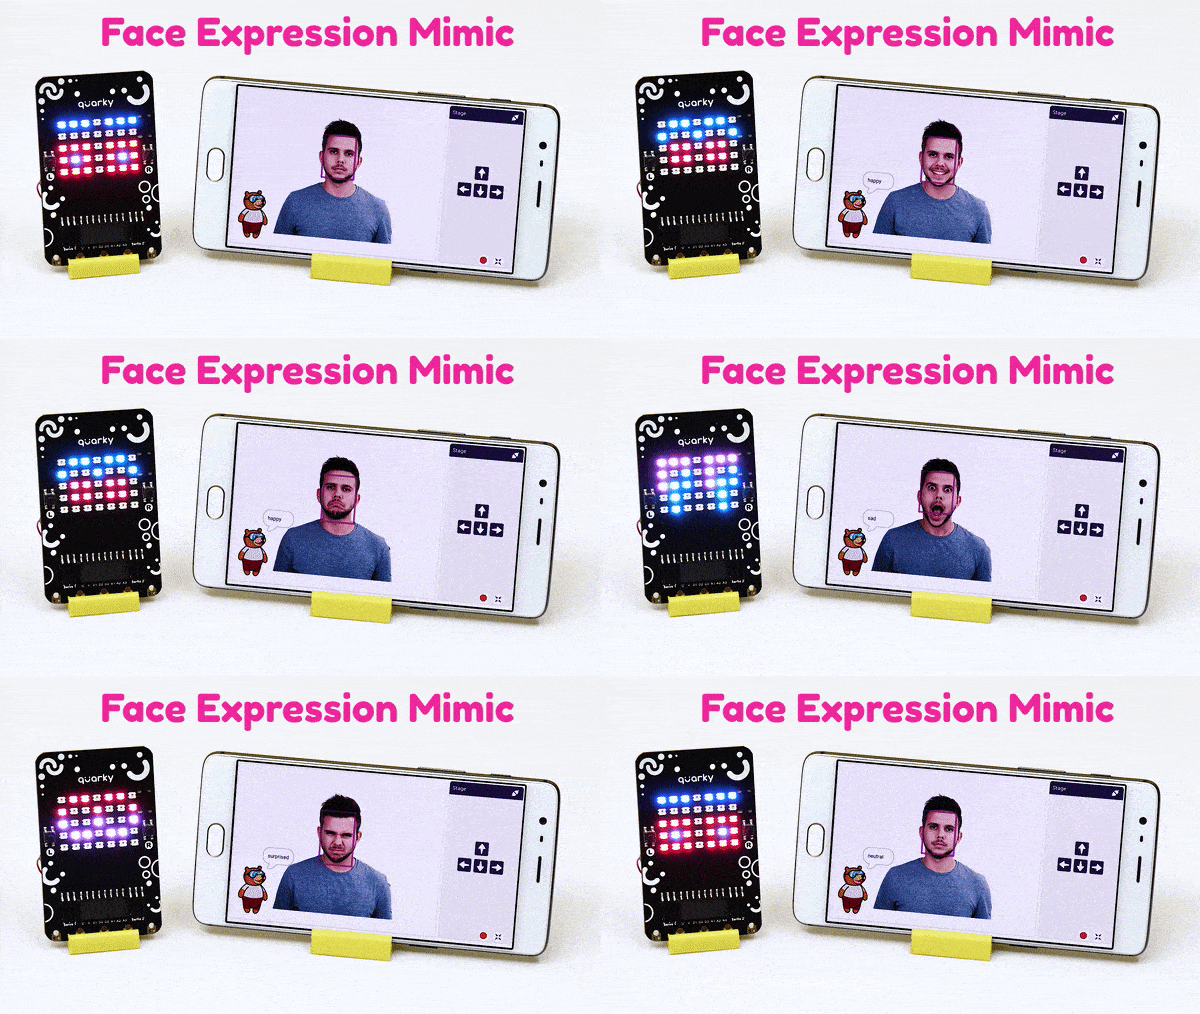
####################imports####################
#do not change

import cv2
import numpy as np
import tensorflow as tf

sprite = Sprite("Tobi")

#do not change
####################imports####################

#Following are the model and video capture configurations
#do not change

model = tf.keras.models.load_model('saved_model.h5',
                                   custom_objects=None,
                                   compile=True,
                                   options=None)

cap = cv2.VideoCapture(0)  # Using device's camera to capture video
text_color = (206, 235, 135)
org = (50, 50)
font = cv2.FONT_HERSHEY_SIMPLEX
fontScale = 1
thickness = 3

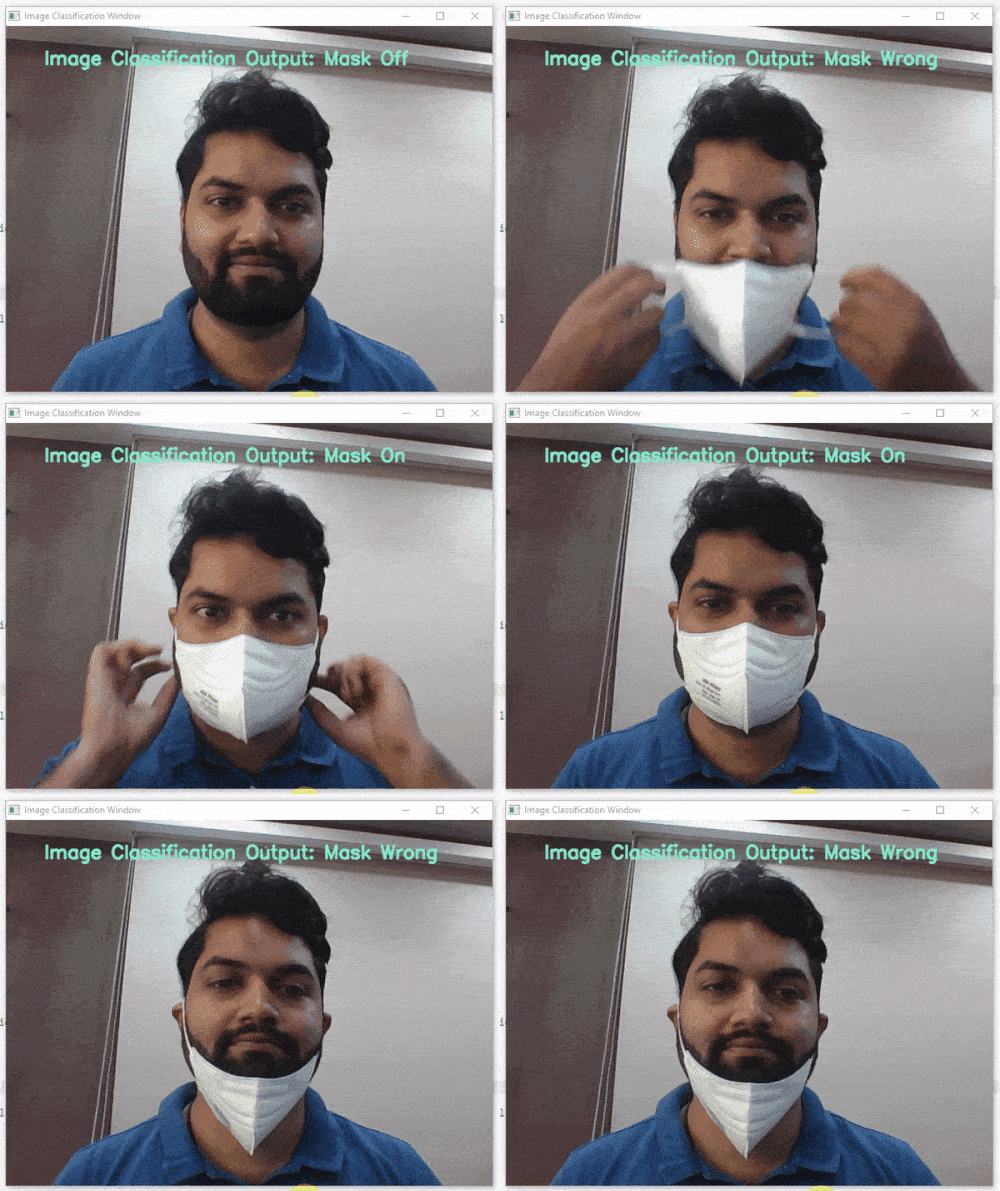
class_list = ['Mask Off', 'Mask On', 'Mask Wrong']  # List of all the classes

#do not change
###############################################


def checkmask(predicted_class):
  if predicted_class == 'Mask On':
    sprite.say("Thank you for wearing the mask")
  elif predicted_class == 'Mask Off':
    sprite.say("Please wear a mask")
  else:
    sprite.say("Please wear the mask propertly")


#This is the while loop block, computations happen here

while True:
  ret, image_np = cap.read()  # Reading the captured images
  image_np = cv2.flip(image_np, 1)
  image_resized = cv2.resize(image_np, (224, 224))
  img_array = tf.expand_dims(image_resized,
                             0)  # Expanding the image array dimensions
  predict = model.predict(img_array)  # Making an initial model prediction
  predict_index = np.argmax(predict[0],
                            axis=0)  # Generating index out of the prediction
  predicted_class = class_list[
      predict_index]  # Tallying the index with class list

  image_np = cv2.putText(
      image_np, "Image Classification Output: " + str(predicted_class), org,
      font, fontScale, text_color, thickness, cv2.LINE_AA)

  print(predict)
  cv2.imshow("Image Classification Window",
             image_np)  # Displaying the classification window
  checkmask(predicted_class)

  if cv2.waitKey(25) & 0xFF == ord(
      'q'):  # Press 'q' to close the classification window
    break

cap.release()  # Stops taking video input
cv2.destroyAllWindows()  #Closes input window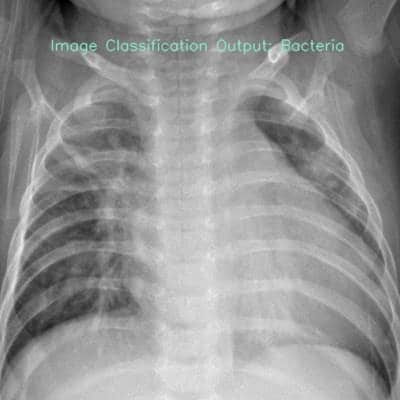

####################imports####################
#do not change

import cv2
import numpy as np
import tensorflow as tf

#do not change
####################imports####################

#Following are the model and video capture configurations
#do not change

model = tf.keras.models.load_model('saved_model.h5',
                                   custom_objects=None,
                                   compile=True,
                                   options=None)

text_color = (206, 235, 135)
org = (50, 50)
font = cv2.FONT_HERSHEY_SIMPLEX
fontScale = 0.5
thickness = 1

class_list = ['Bacteria', 'Normal', 'Virus']  # List of all the classes

#do not change
###############################################

image_np = cv2.imread("test.jpg", cv2.IMREAD_COLOR)
image_resized = cv2.resize(image_np, (224, 224))
img_array = tf.expand_dims(image_resized,
                           0)  # Expanding the image array dimensions
predict = model.predict(img_array)  # Making an initial model prediction
predict_index = np.argmax(predict[0],
                          axis=0)  # Generating index out of the prediction
predicted_class = class_list[
    predict_index]  # Tallying the index with class list

image_np = cv2.putText(image_np,
                       "Image Classification Output: " + str(predicted_class),
                       org, font, fontScale, text_color, thickness,
                       cv2.LINE_AA)

print(predict)
cv2.imshow("Image Classification Window",
           image_np)  # Displaying the classification window

cv2.imwrite("TestResult.jpg", image_np)
cv2.waitKey(0)
cv2.destroyAllWindows()
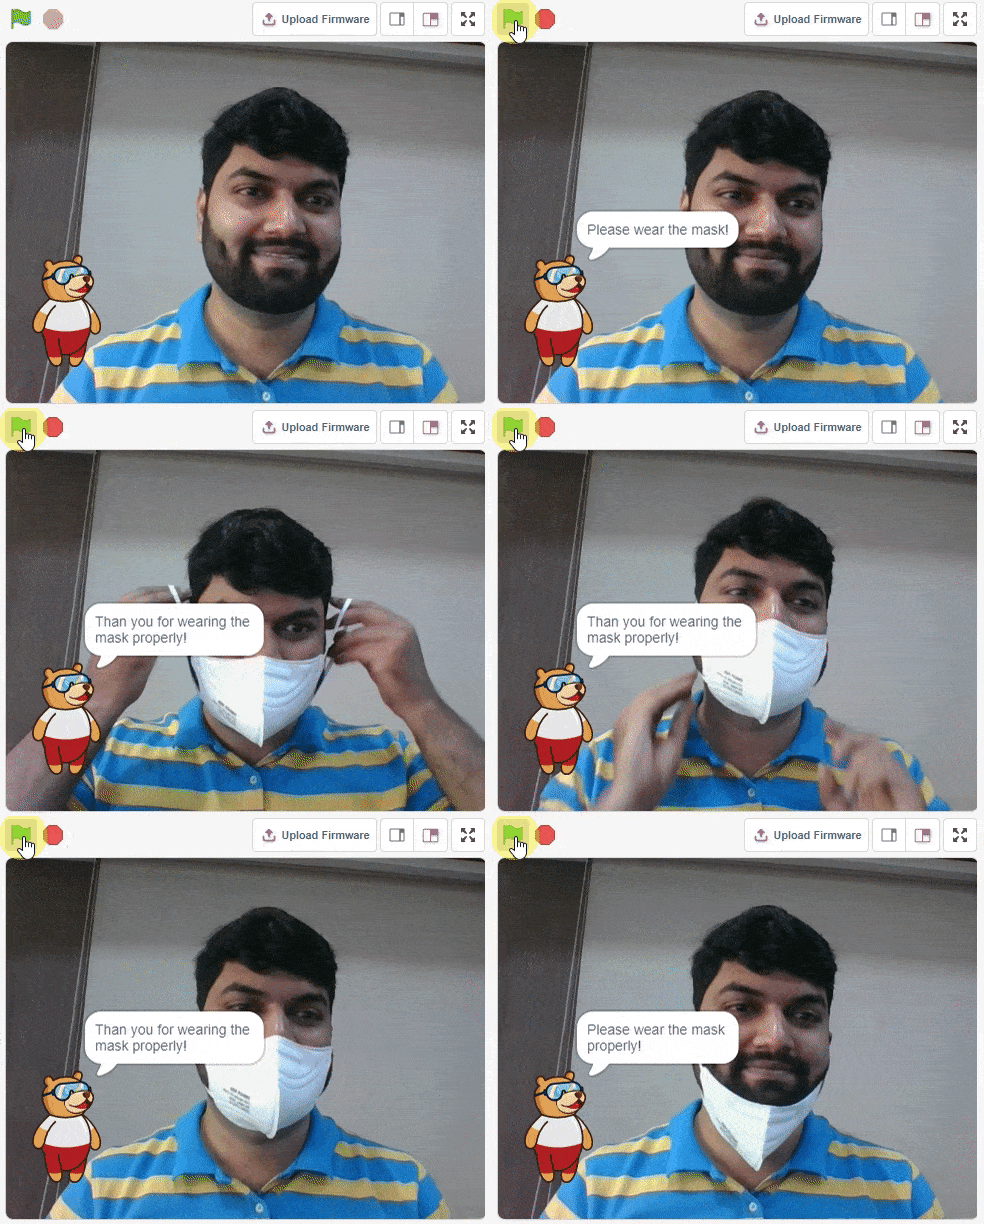

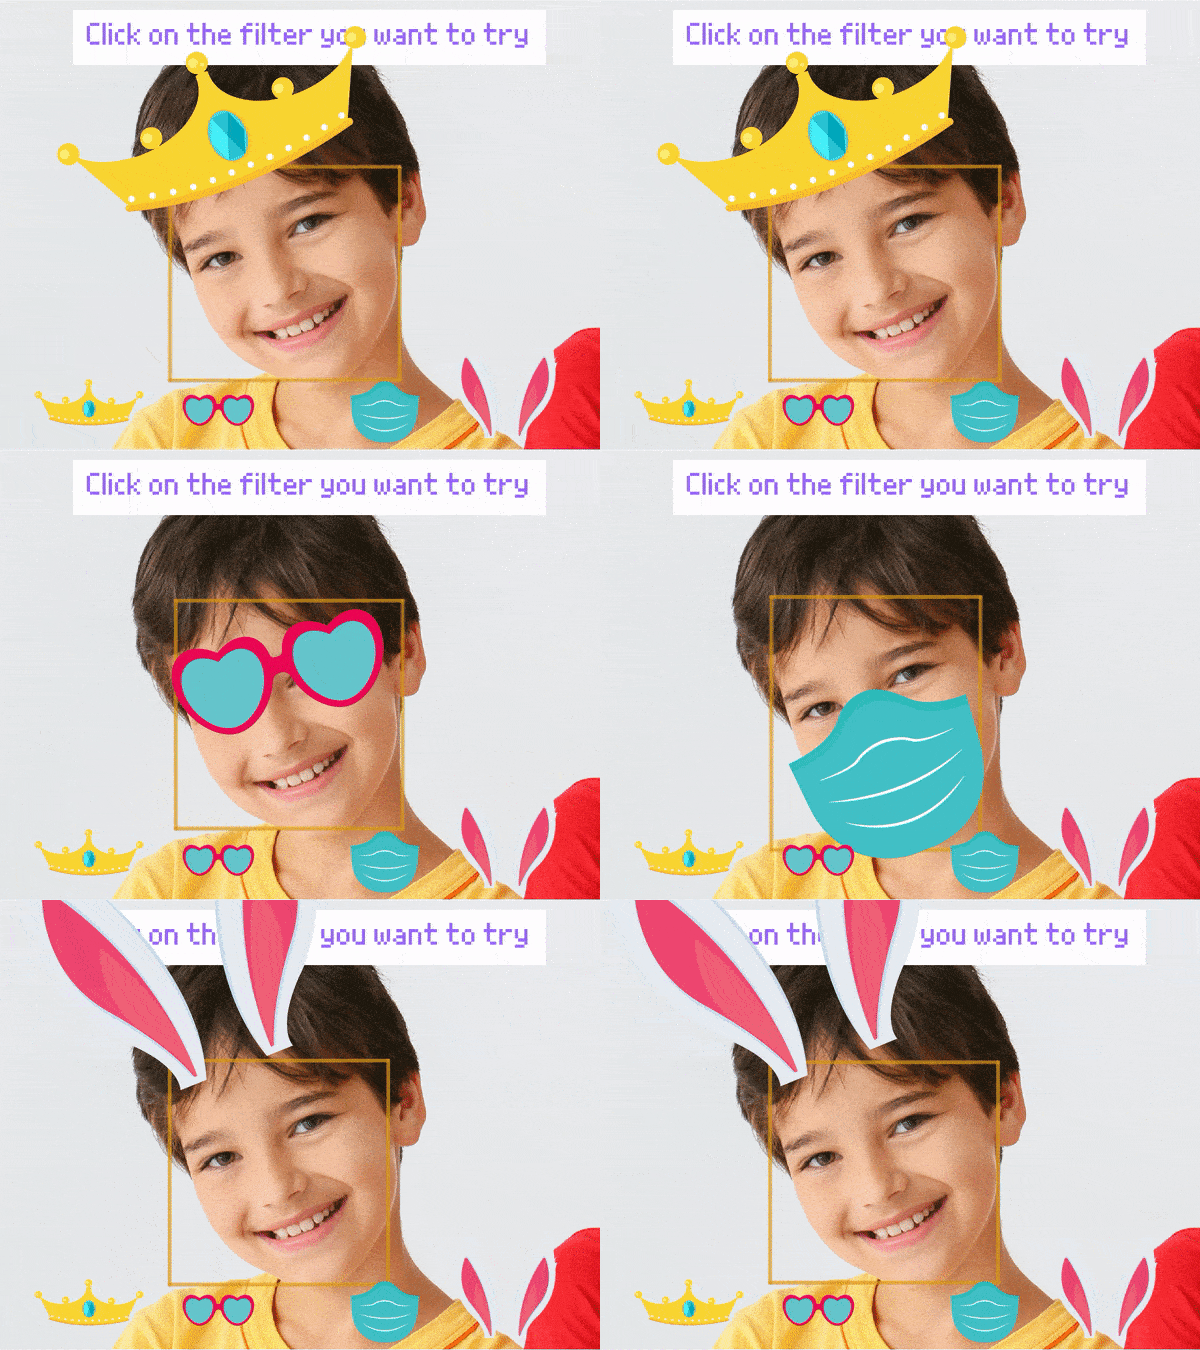
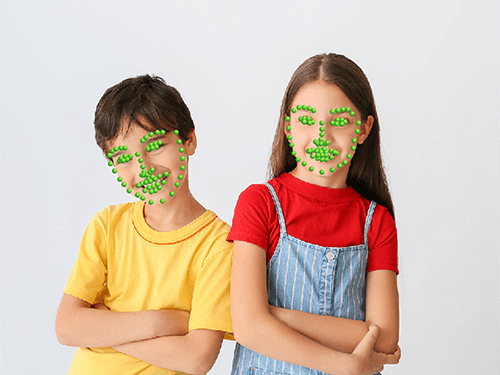
The example demonstrates how to use face landmarks in the projects. Following are the key steps happening:

The example demonstrates the application of face recognition with a camera feed. Following are the key steps happening:

The example demonstrates the application of face recognition with stage. Following are the key steps happening:
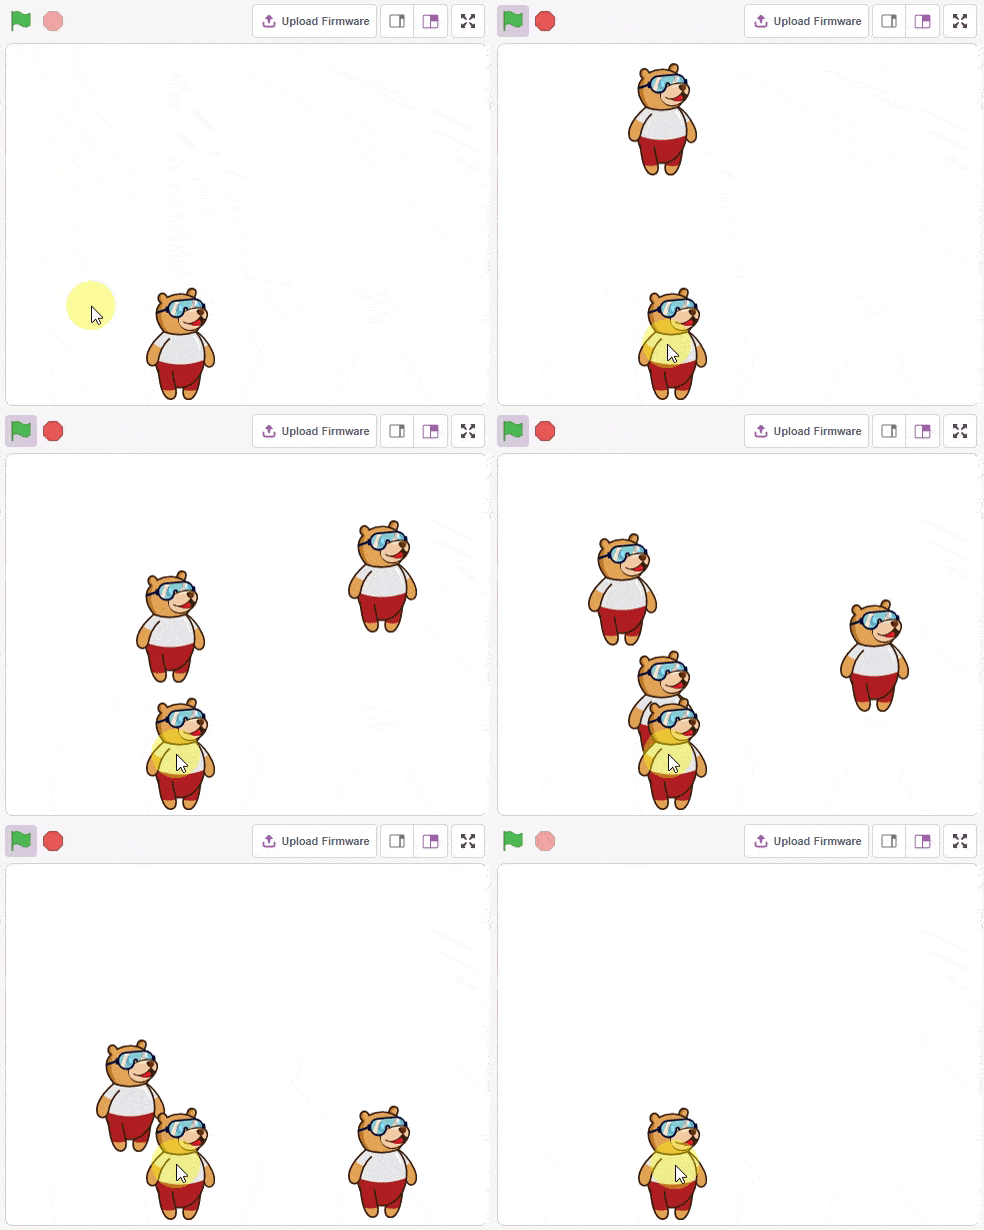
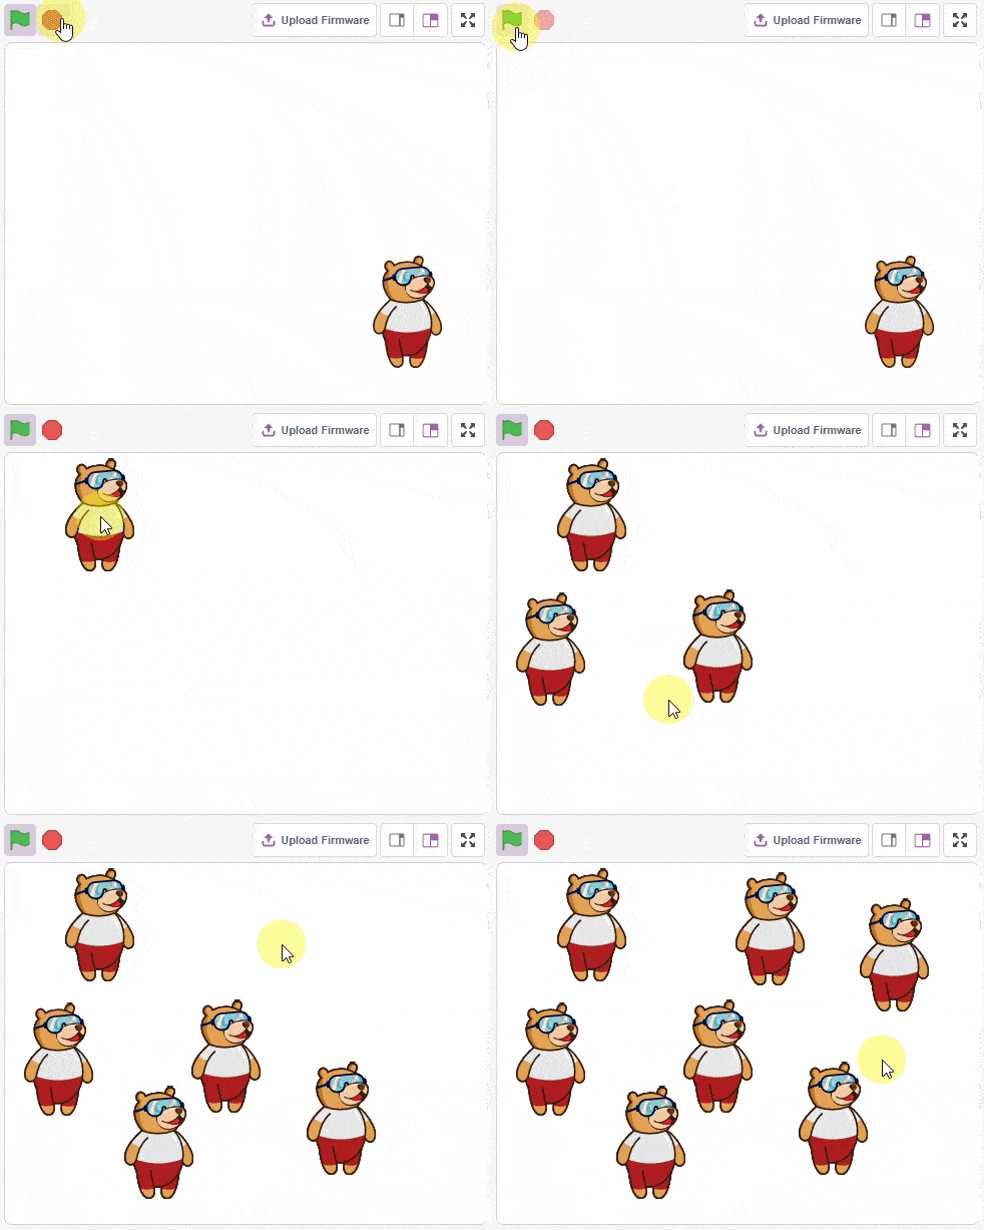
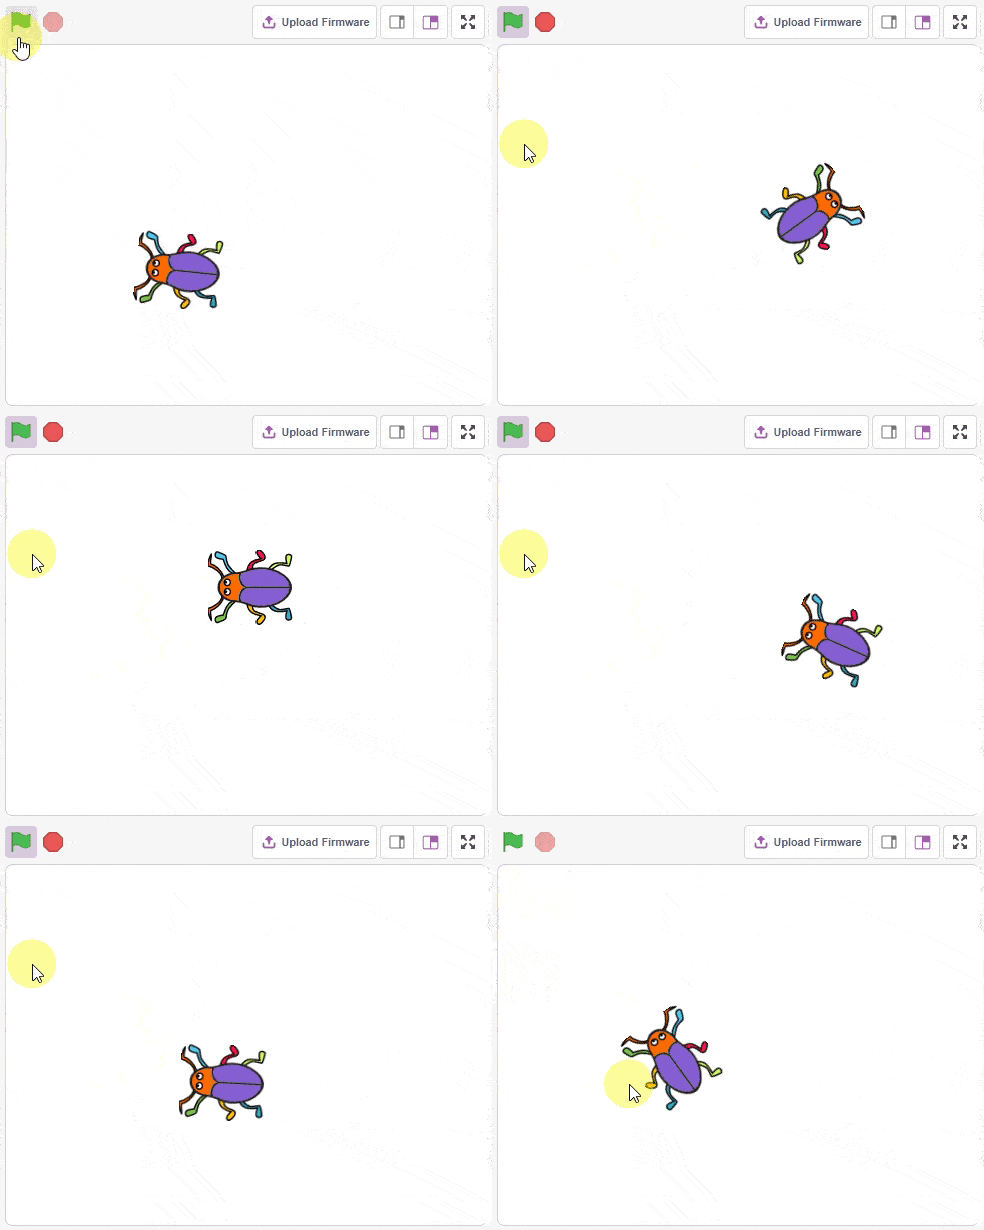
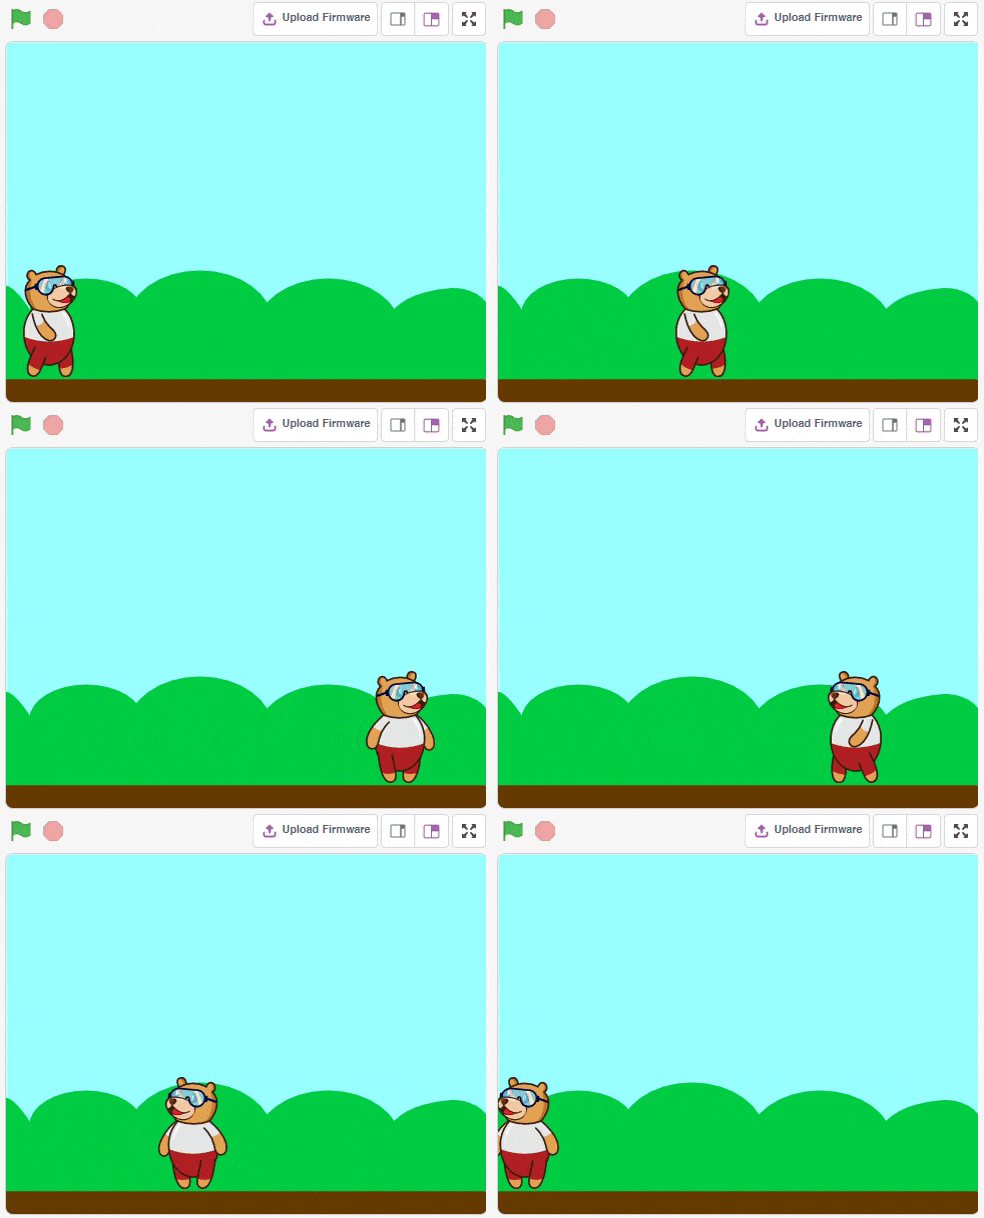
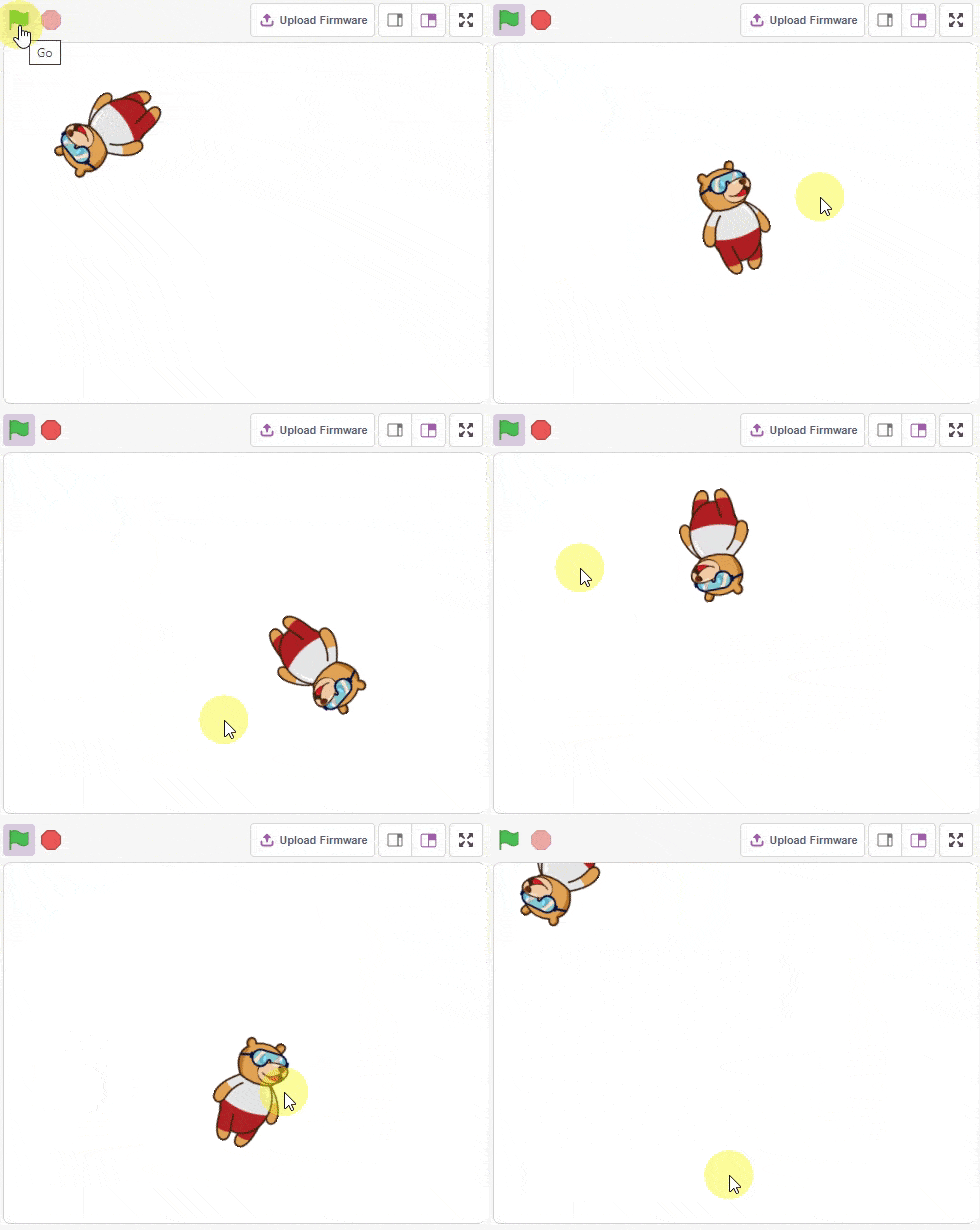
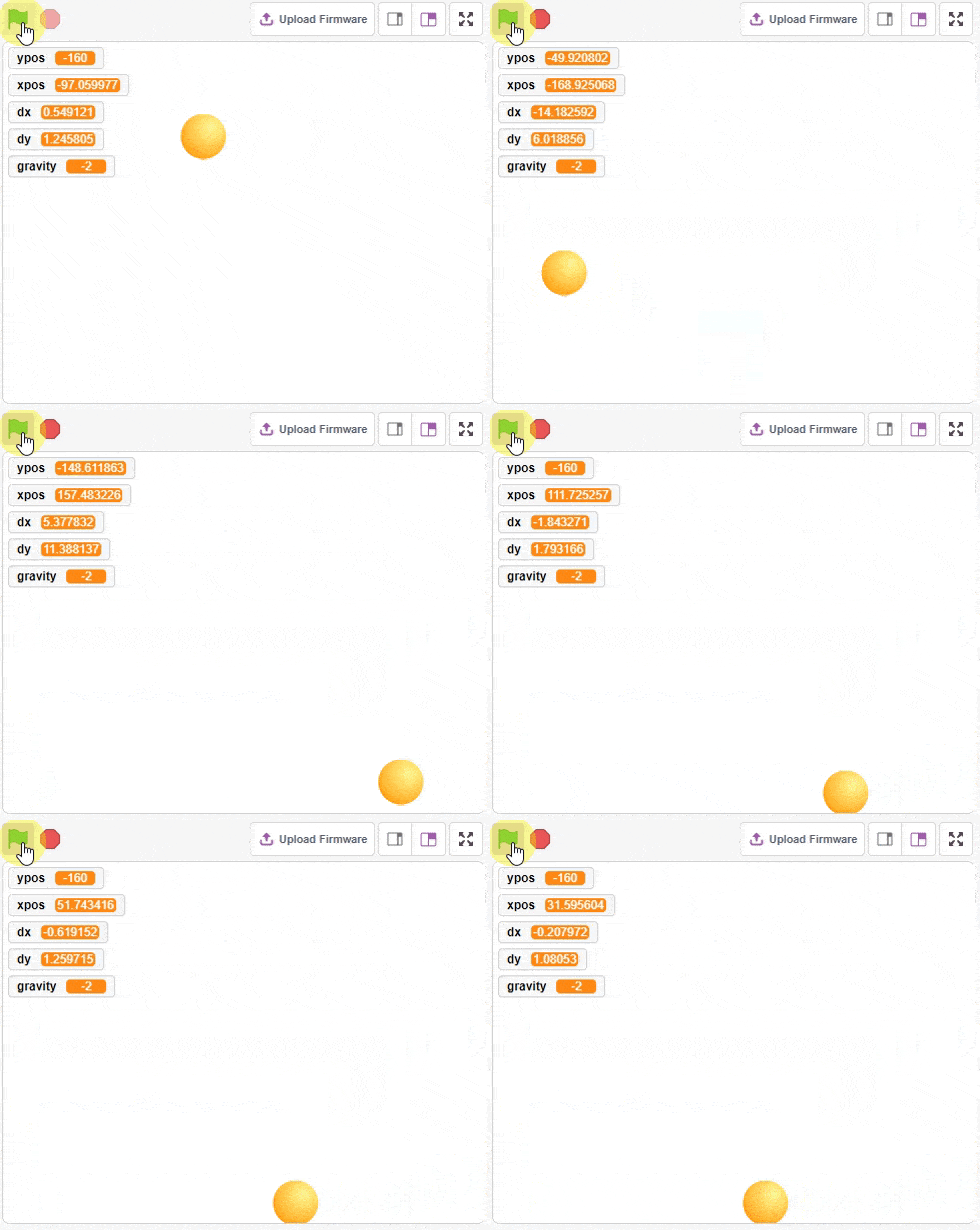
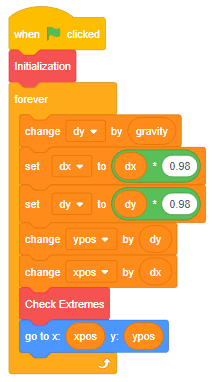
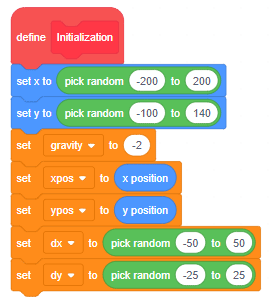
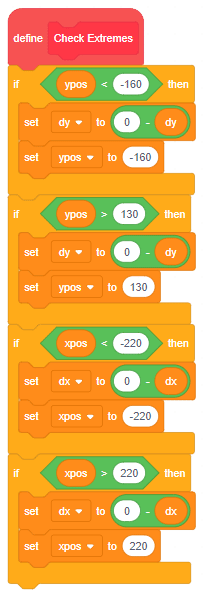
The example demonstrates the use of clone and gliding function in Sprite:
