Let’s Chat!
What if your sprite could talk to you or your friend? Let’s find out how!
In this activity, we will learn how to ask a user to enter input and create a script where a friendly goblin has a small chat with the user.
Choosing the Backdrop
Follow the steps below to add a backdrop:
- Click on Choose a Backdrop button.
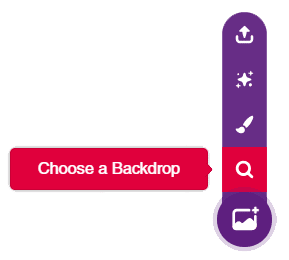
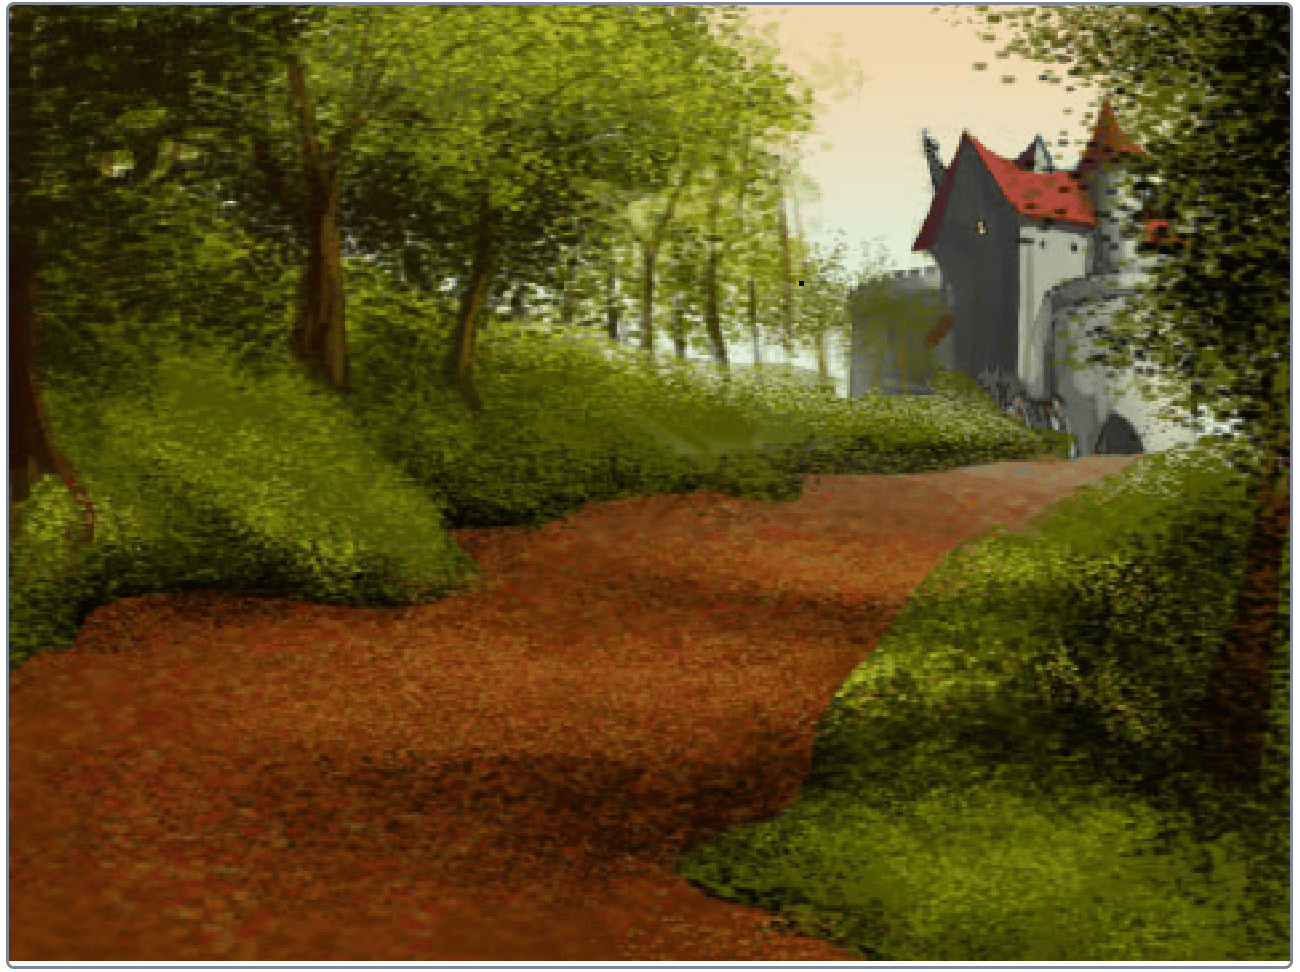
- Choose the Castle 2 backdrop from the library.
Choosing the Sprite
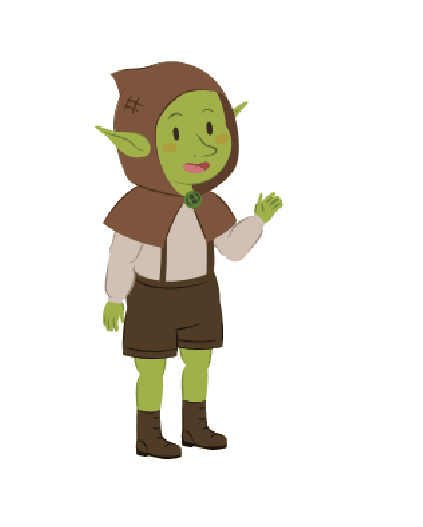
- Using Choose a Sprite button, Choose the Goblin sprite.
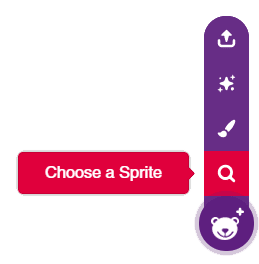
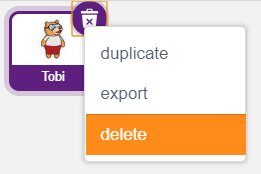
- Right-click Tobi’s icon in the sprite palette and delete it.
Making the Goblin Glide
We will make the Goblin glide using the following blocks: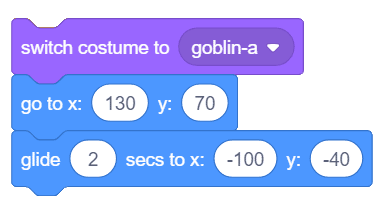
Switching Costume and Saying
Next, we will use the switch costume to () and say () for () seconds block from the Looks palette to make the Goblin look like he’s talking.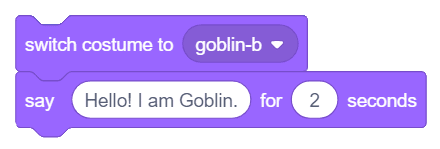
Asking a Question
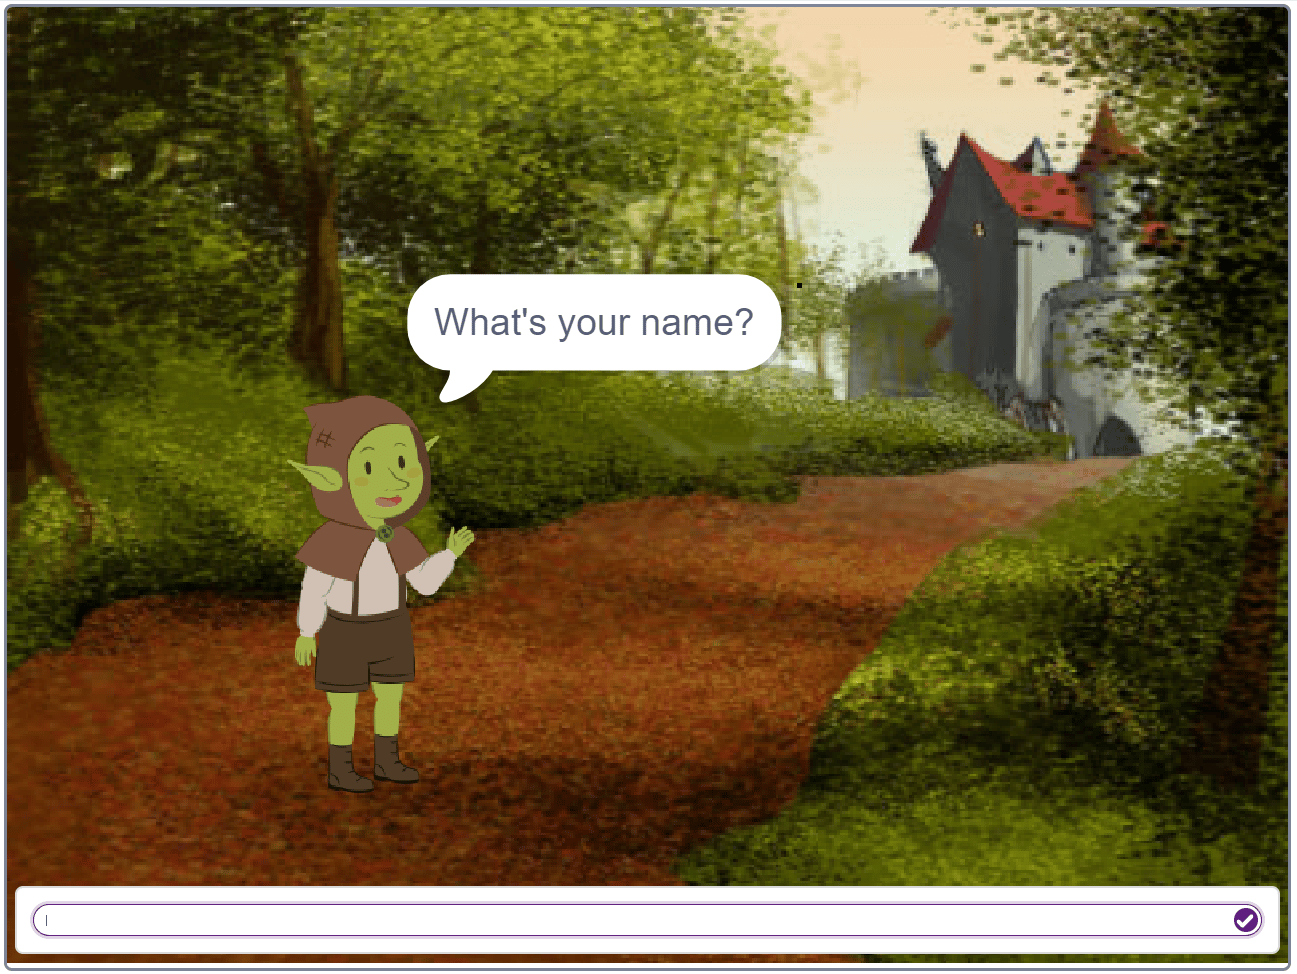
- To make the Goblin ask a question, we will use an ask block from the Sensing palette. It will ask the user whatever you write inside it, wait for user input, and then store that input in the answer block.


Replying
Follow the steps below to make the Goblin reply to the user’s response:
- First, we will use the answer block from the Sensing palette to read the user input.
- To combine our message with the user’s answer, we will use a join block from the Operators palette.
- Finally, to reply, we will use another say () for () seconds block from the Looks palette.
- Place a say block and then place a join block in to the first spac given.
- Write “Nice to meet you” in the first space of the join block and place the answer block into the second space of the join block.

The complete script looks like this:
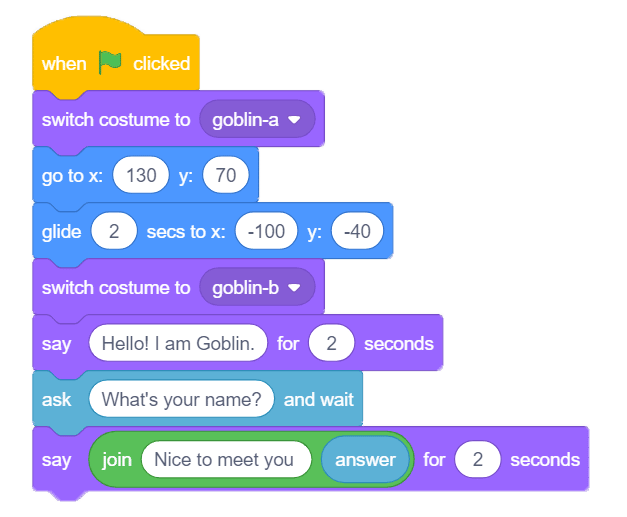
Maximize the stage and enjoy the animation!![]()
Saving the File
Save the file with the name Let Us Chat!
Assignment
Before you move on to the next lesson, a small assignment awaits you!
You must upload the PictoBlox script you made in this activity to the website.
Submitting the assignment is a must in order to receive the certificate after completing the course.
Follow the steps below to upload your assignment:
- Click on Choose File.
- Select the image from the pop-up window that opens up.
- Once the image is selected, click on Upload Assignment.
