Animating a Sprite
Ready to make your very first program? Let’s get started!
In this activity, first, we will learn how to add a backdrop and a sprite on the Stage and then create a small animation to make Tobi move around the Stage. Let’s begin.
Choosing a Backdrop
Follow the steps below to add a backdrop.
- Click the Choose a Backdrop button.
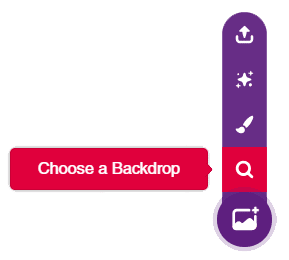
- Select the Farm backdrop from the library.

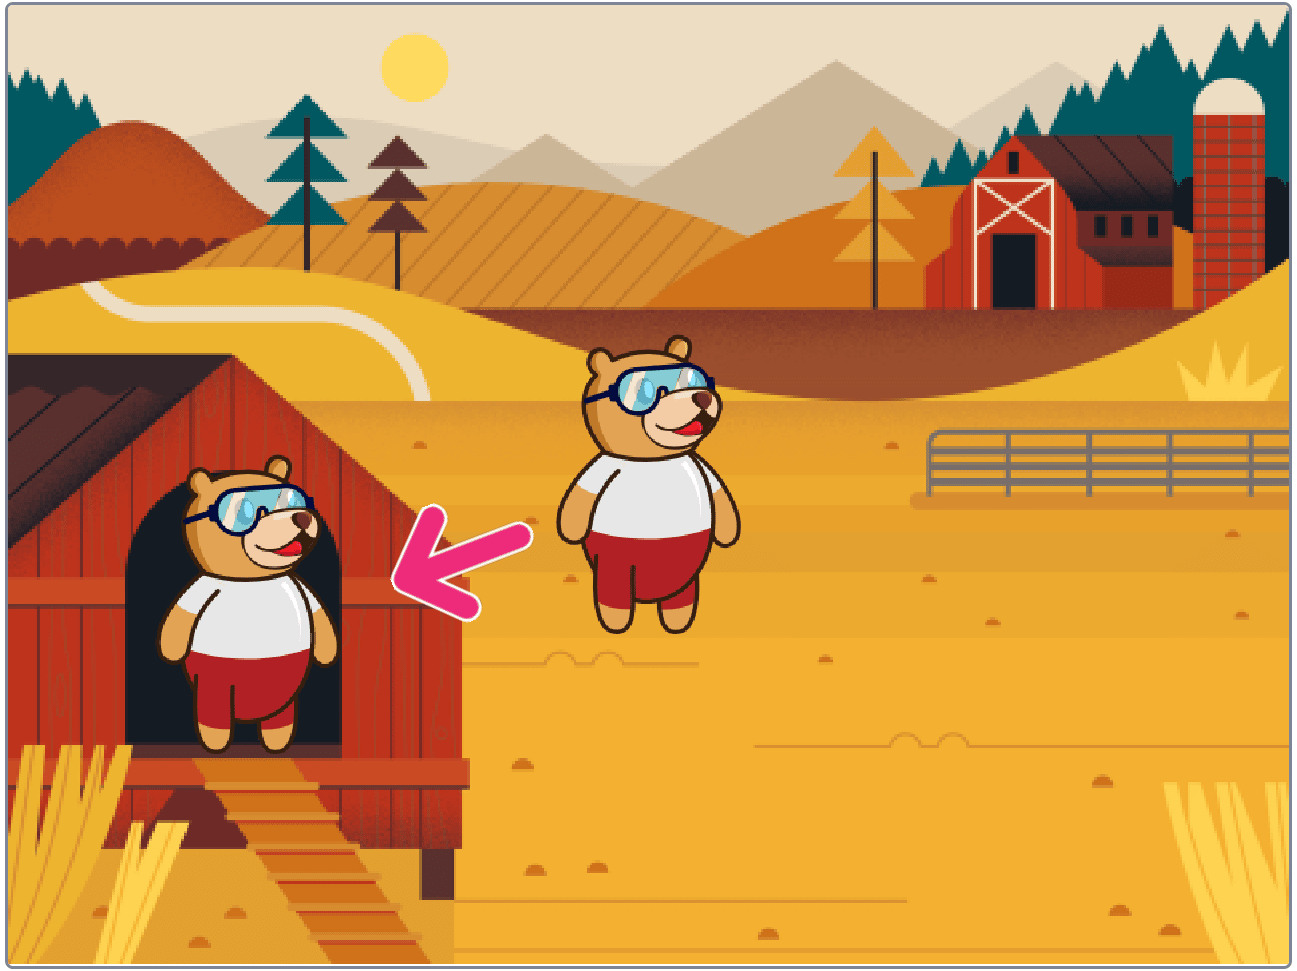
And that’s it! Your Stage now looks like a nice huge farm!
Choosing a Sprite
Follow the steps below to add a sprite.
- Click the Choose a Sprite button.

- Tobi, PictoBlox’s default sprite, is already selected.

Now, let’s animate it!
Setting the Starting Point
 We will set Tobi’s starting position using the following blocks from the Motion palette.
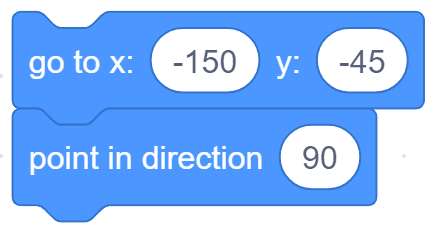
Gliding to Another Point
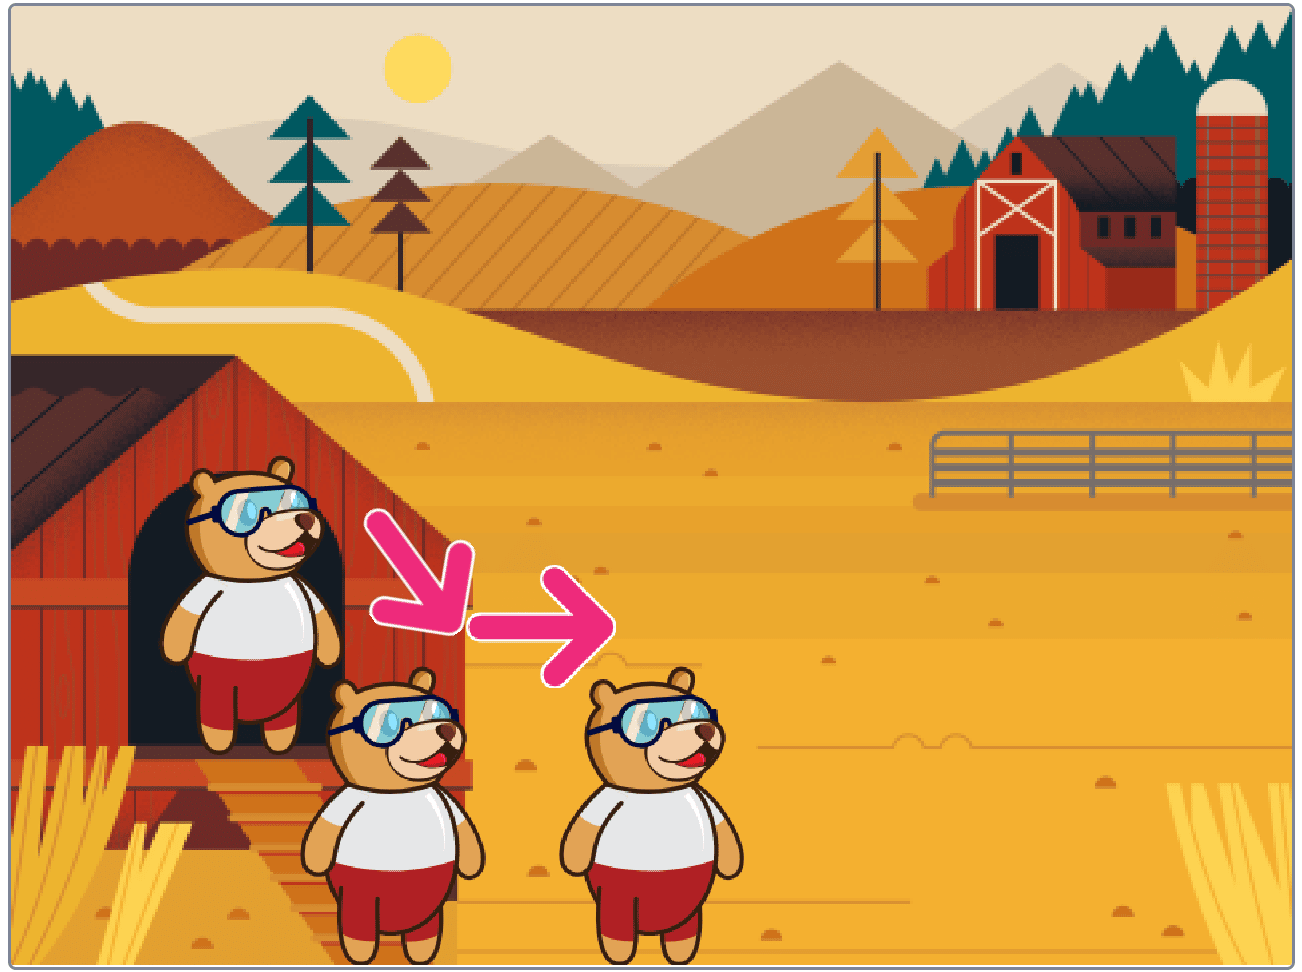 Using the following blocks from the Motion palette, we will make Tobi glide to the different points.
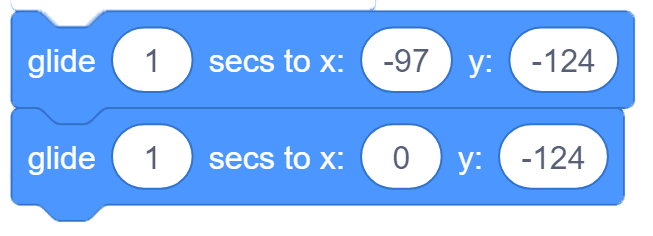
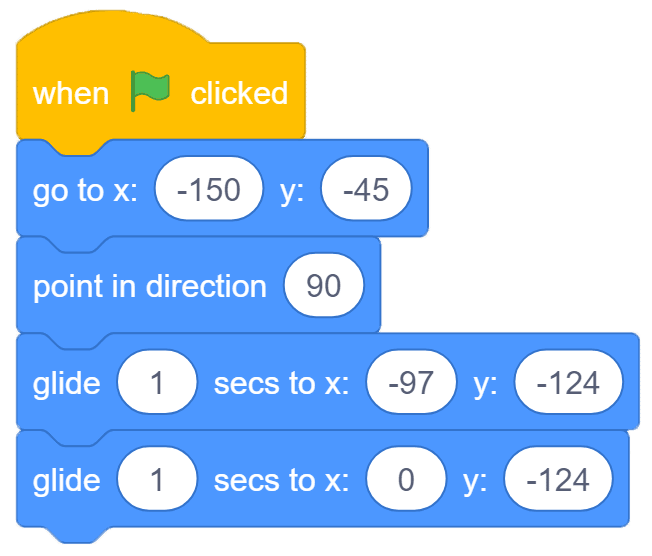
Adding a Hat Block
From the Events palette, we will add the following hat block. Now, we can control our animation just by clicking the green flag over the stage area.
The entire script looks like this:
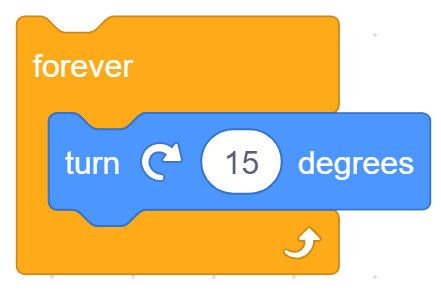
Making Tobi Rotate
Let’s make another small script to make Tobi rotate.
- We will use a turn block from the Motion palette and forever block from the Control palette.
- Let’s add a hat block on this script too. This one will sense when we click Tobi and make it rotate whenever we do so.

Below is the entire script: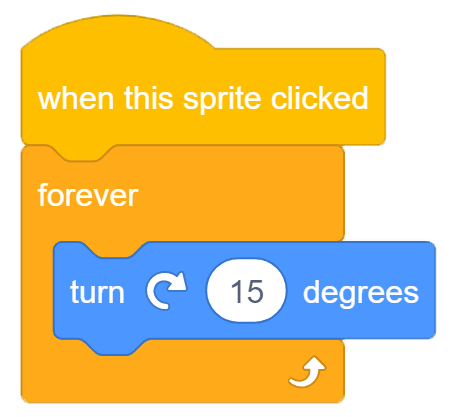
Maximize the stage and make Tobi glide & rotate! 🙂
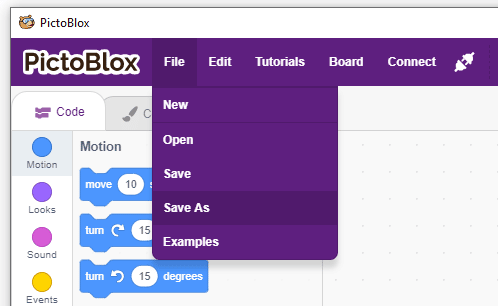
Saving the Program
- To save the program, click on File > Save As.
- A window will popup. Choose the location as Desktop or any other relevant folder. Name the file Tobi Walking Animation.
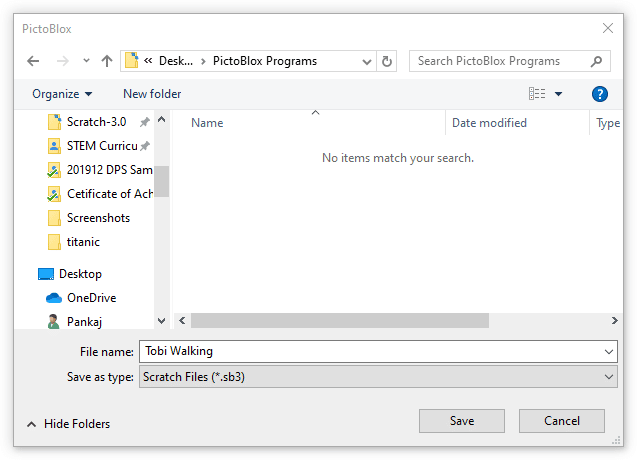
- Click on Save.
Assignment
Before you move on to the next lesson, a small assignment awaits you!
You must upload the PictoBlox program you wrote in this activity to the website.
Submitting the assignment is a must in order to receive the certificate after completing the course.
Follow the steps below to upload your assignment:
- Click on Choose File.
- Select the image from the pop-up window that opens up.
- Once the image is selected, click on Upload Assignment.

Good luck!